Application Service > ROLE > Console User Guide
Bulletin Board Example
Will explain how to use the console as an example of configuring role-based resource access control when creating a small bulletin board.
Let's assume that calling /board/v1.0/{boardId} API returns a post, which can only be called by authenticated members.
You first have to create a role as an authenticated member.
In the example with curl, the values "{Appkey}" and "{SecretKey}" should be replaced by Appkey and SecretKey of active Role service within the actual project.
1) Create Role

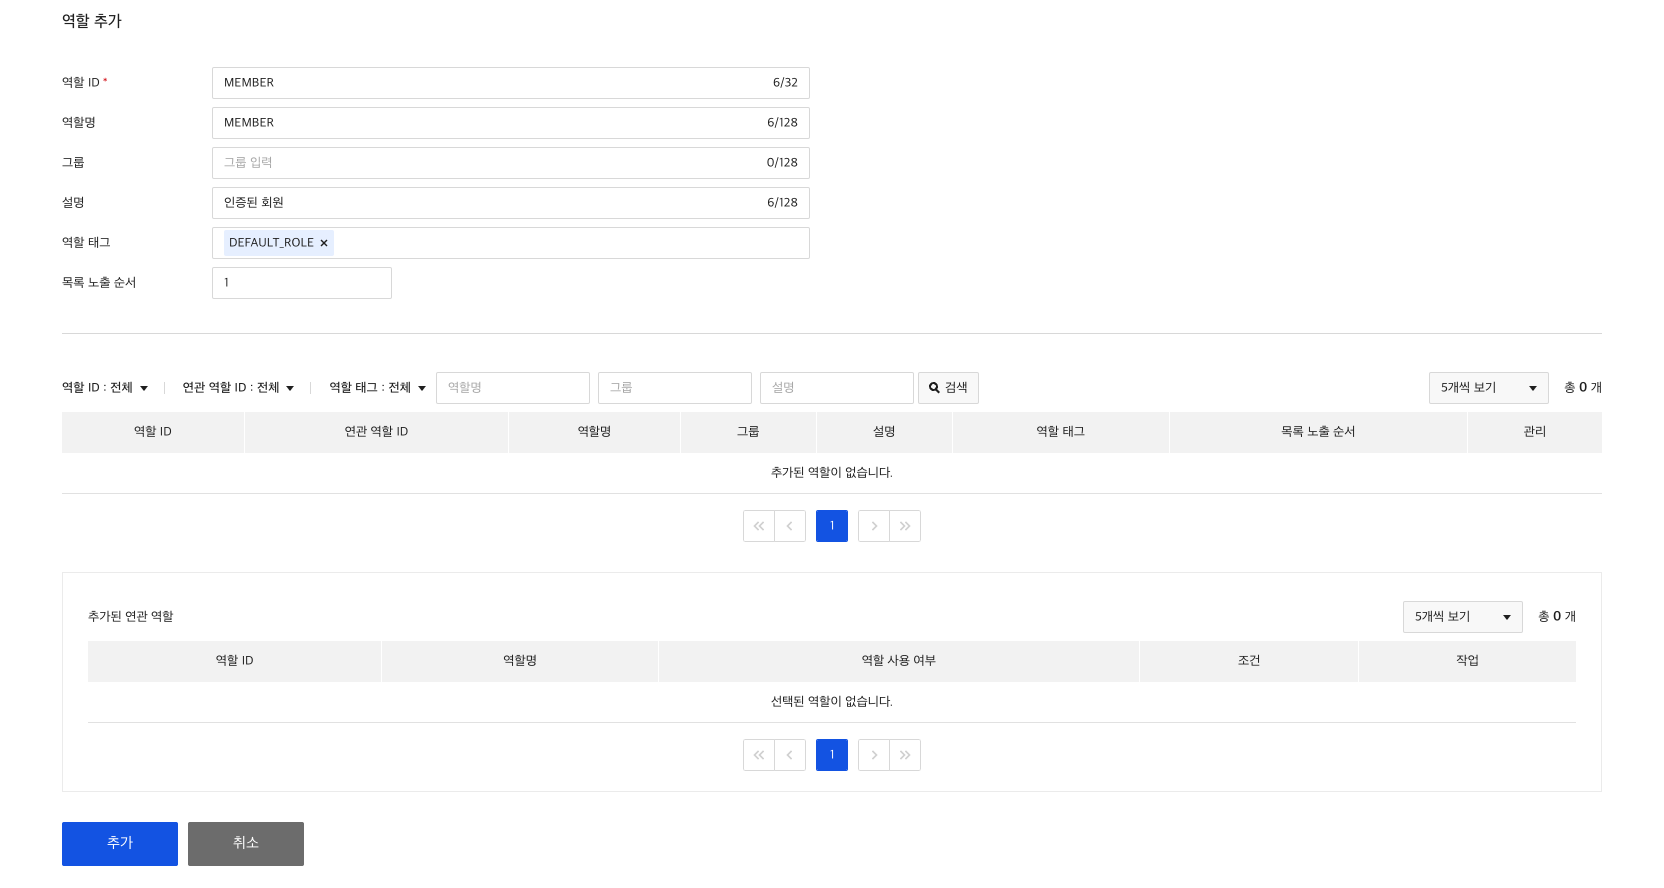
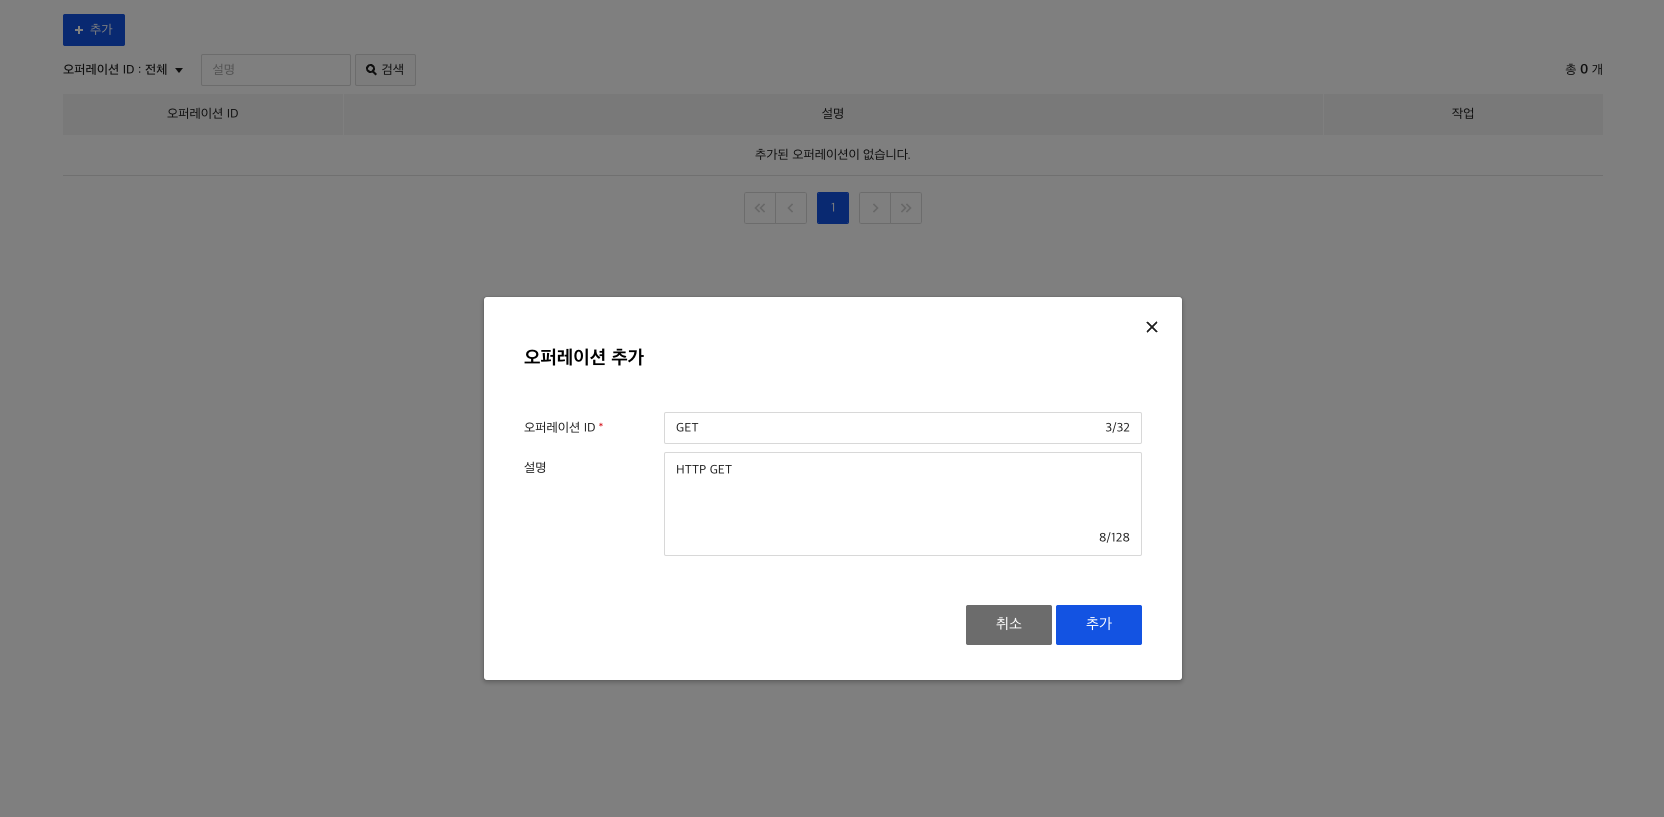
2) Create Operation
Once you have created a role, you have to create an operation.

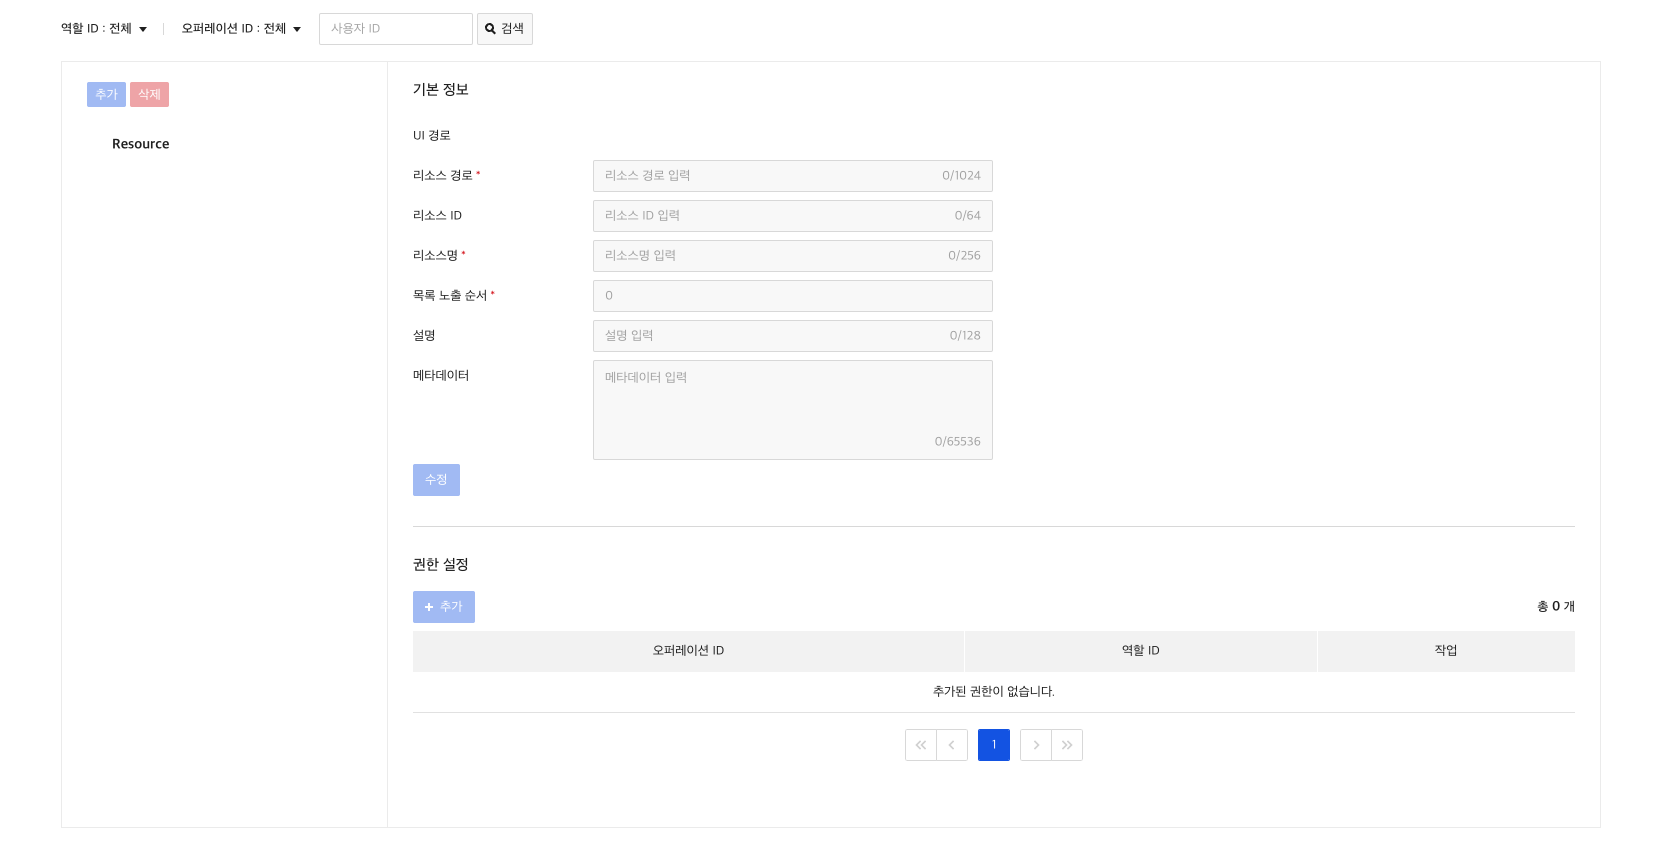
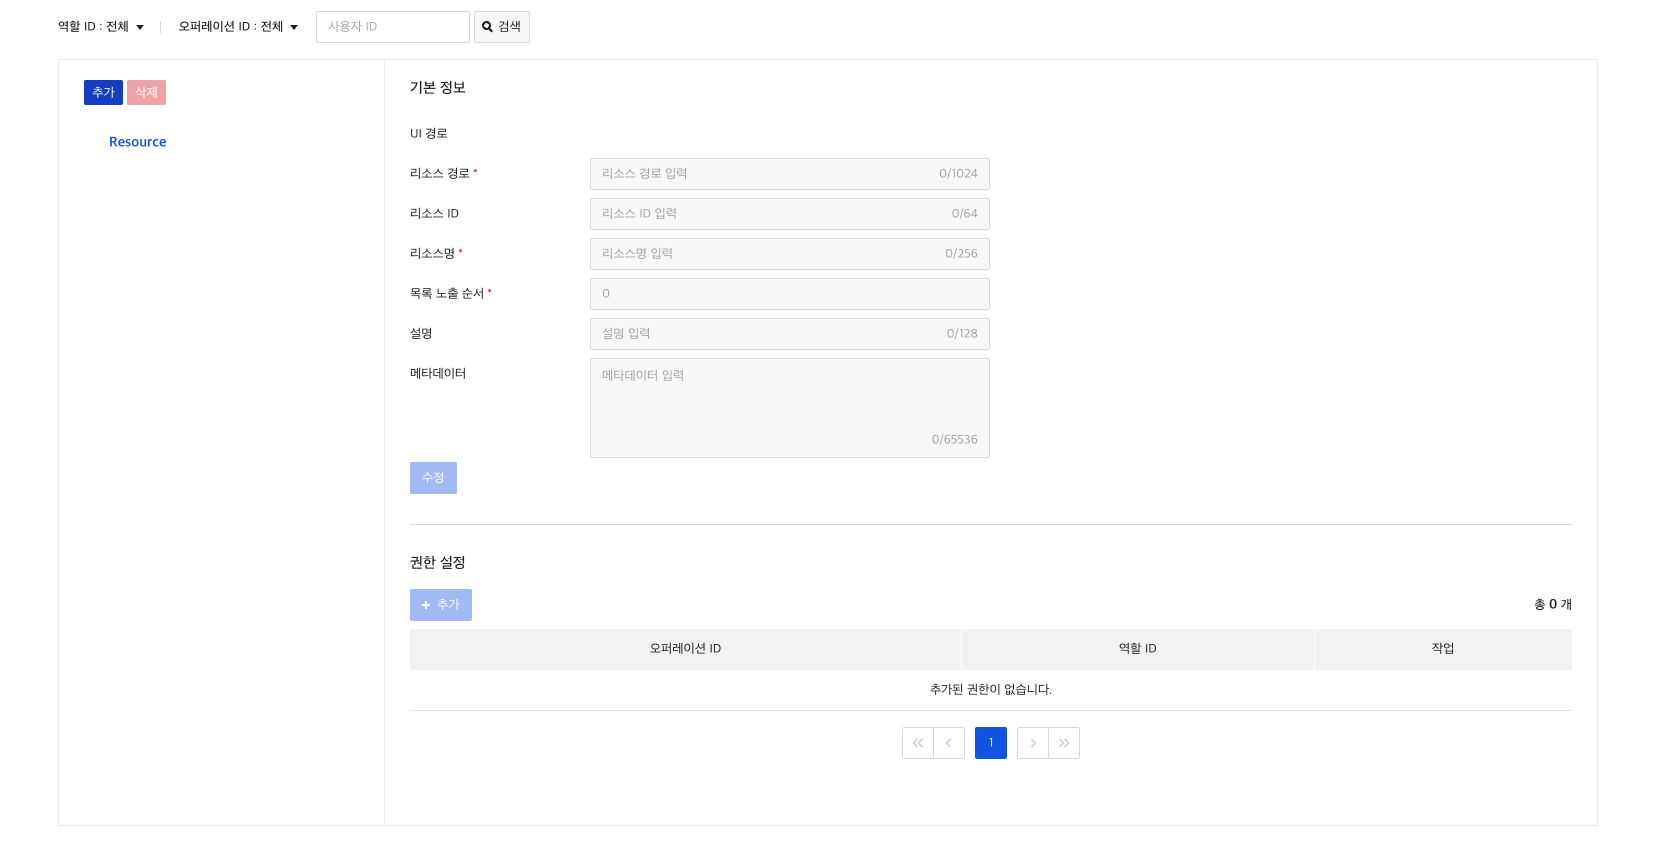
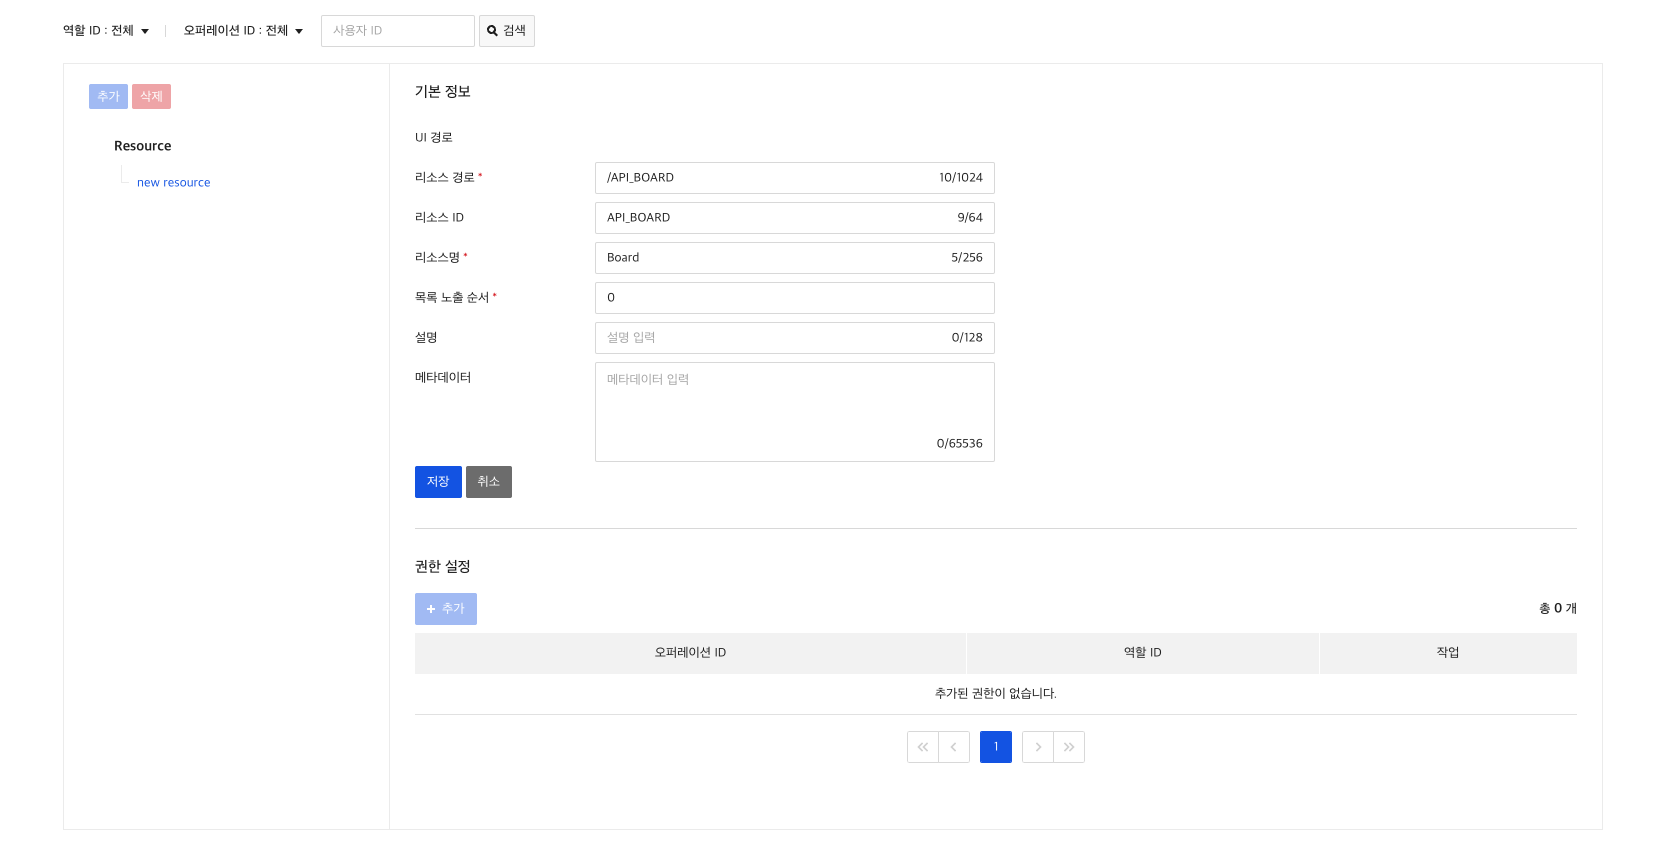
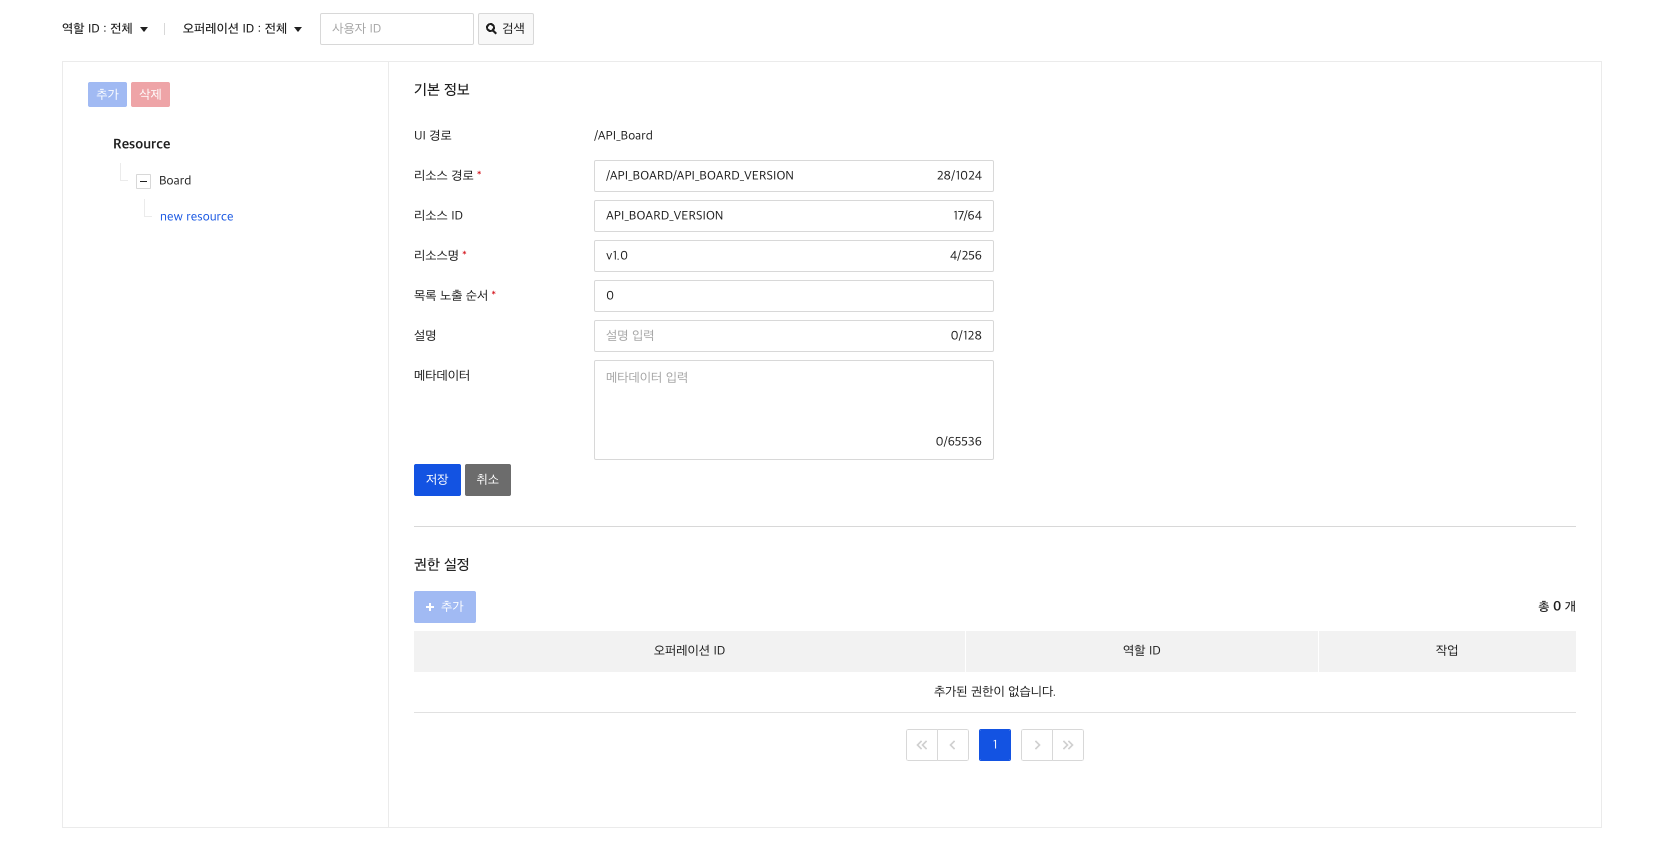
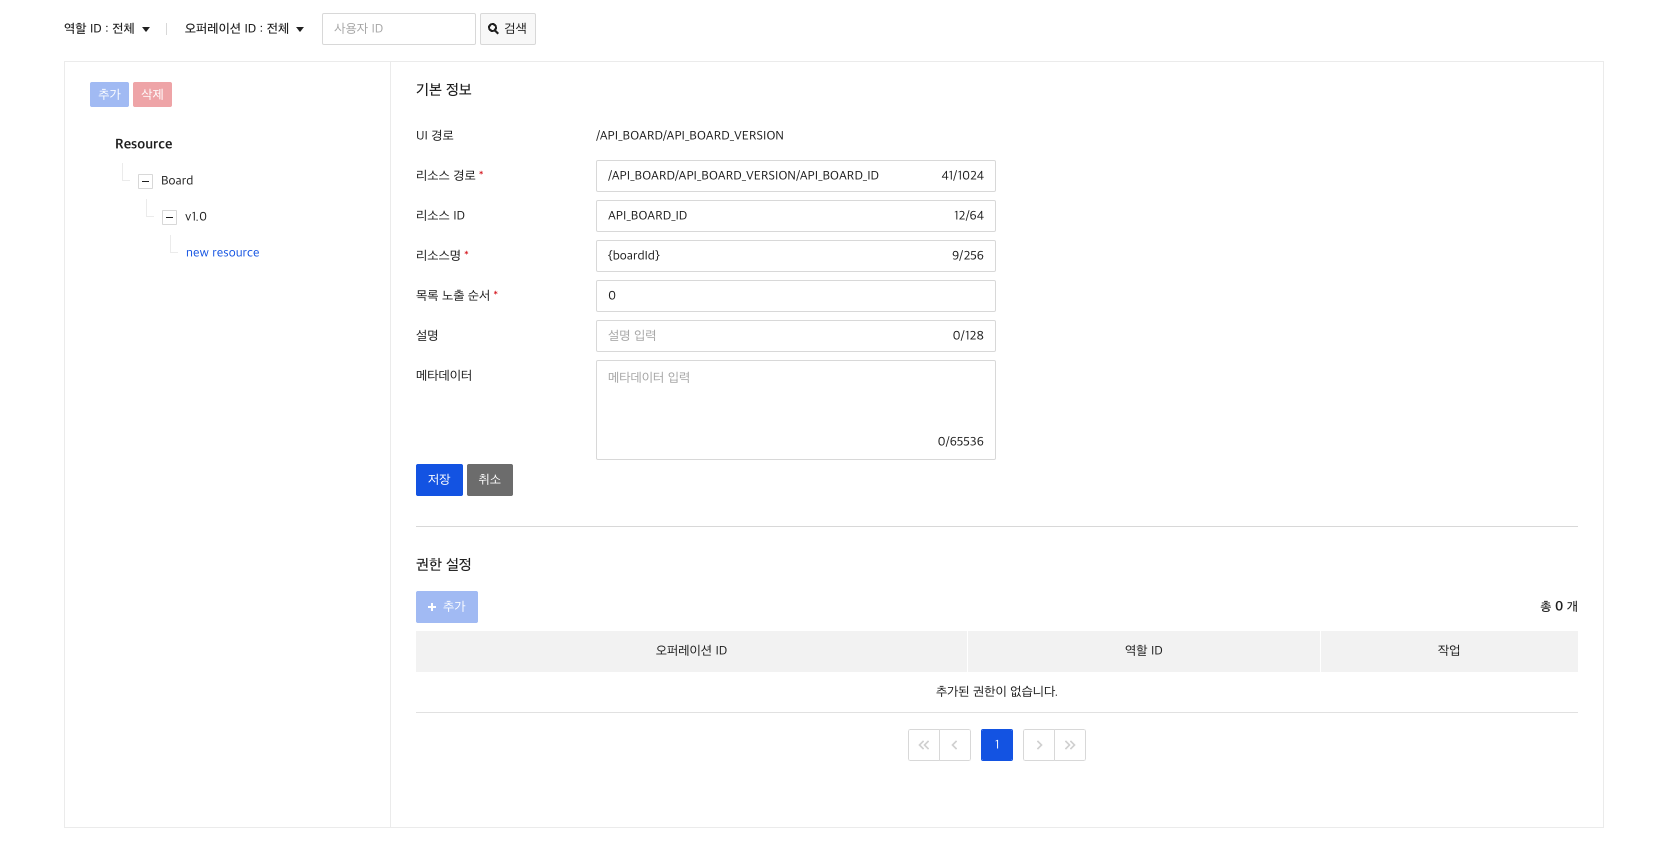
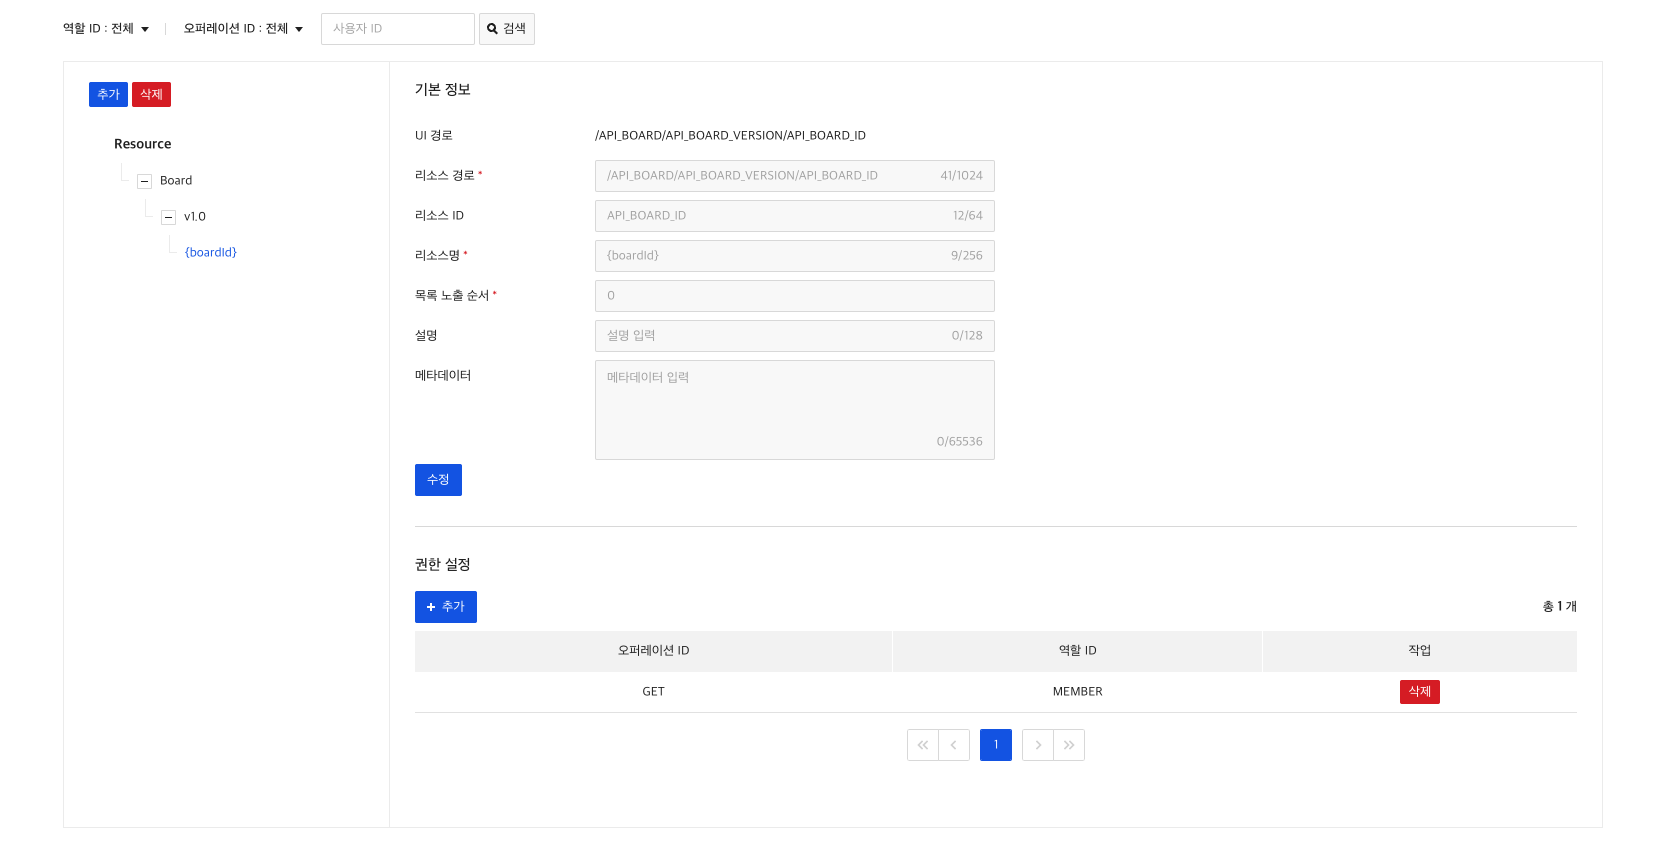
3) Create Resource
Now let's register /board/v1.0/{boardId} as a resource.
You have to register sequentially by dividing it into board, v1.0 and {boardId}.
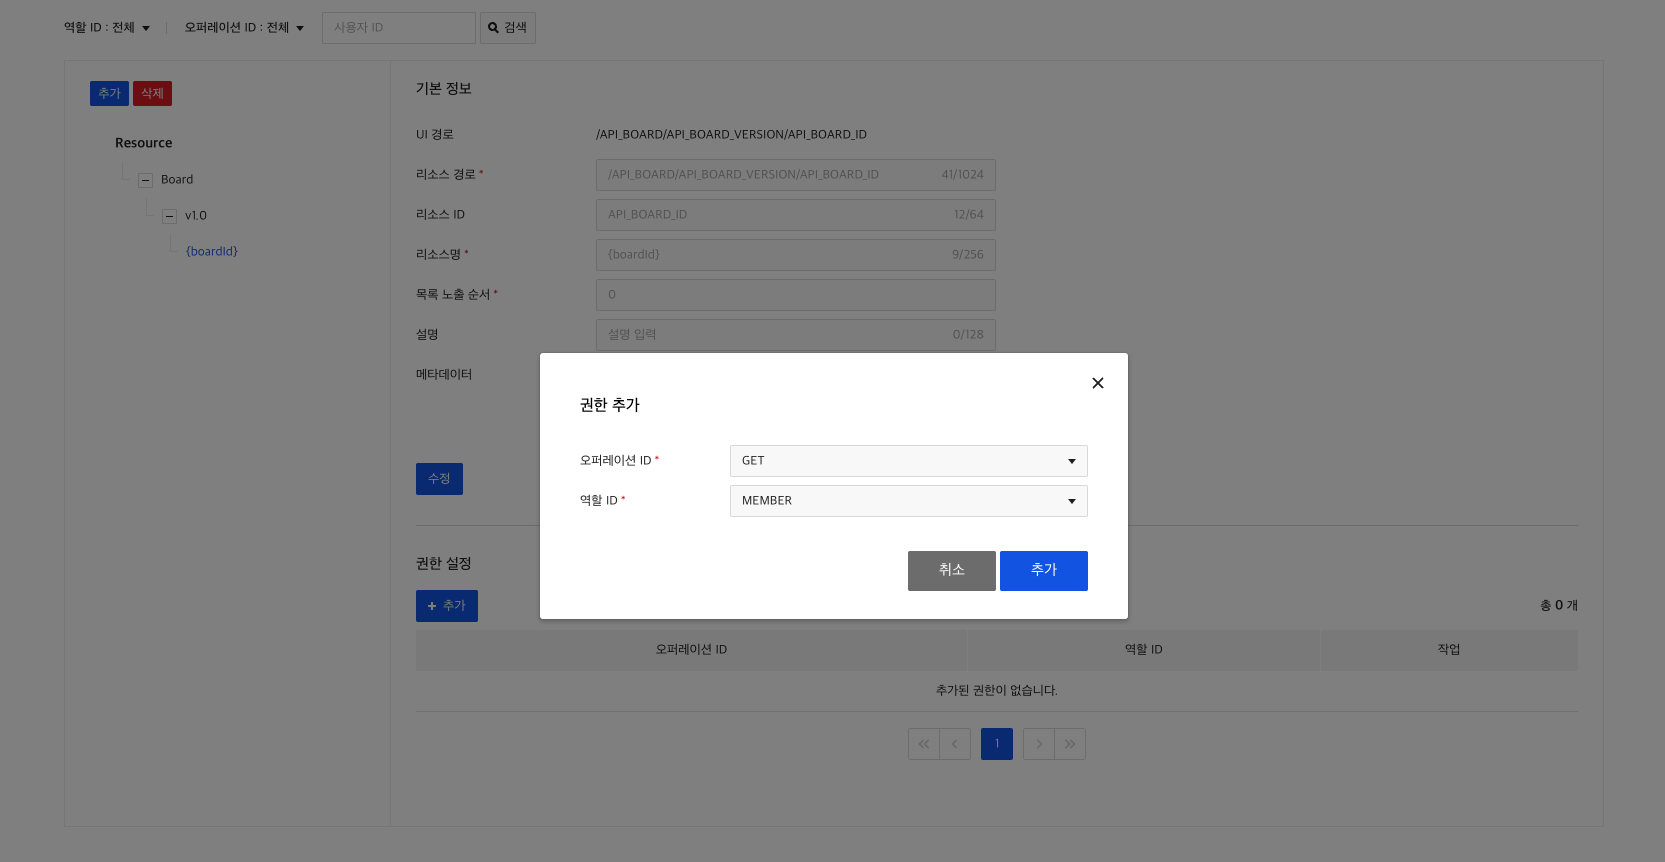
4) Create a Role-Resource Relationship
If you even registered a resource, you need to set up role-resource relationship to specify the resources for which the role can perform the operation.
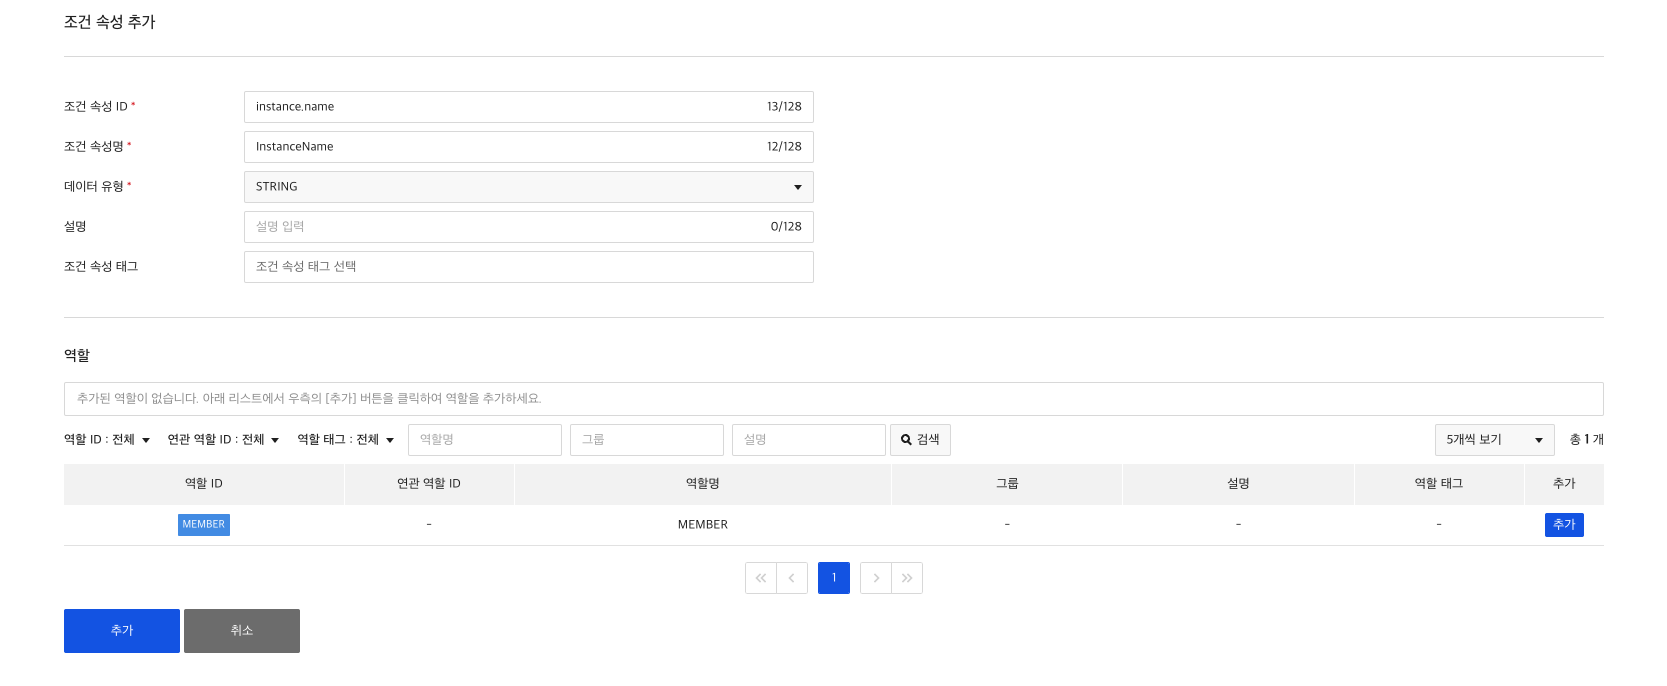
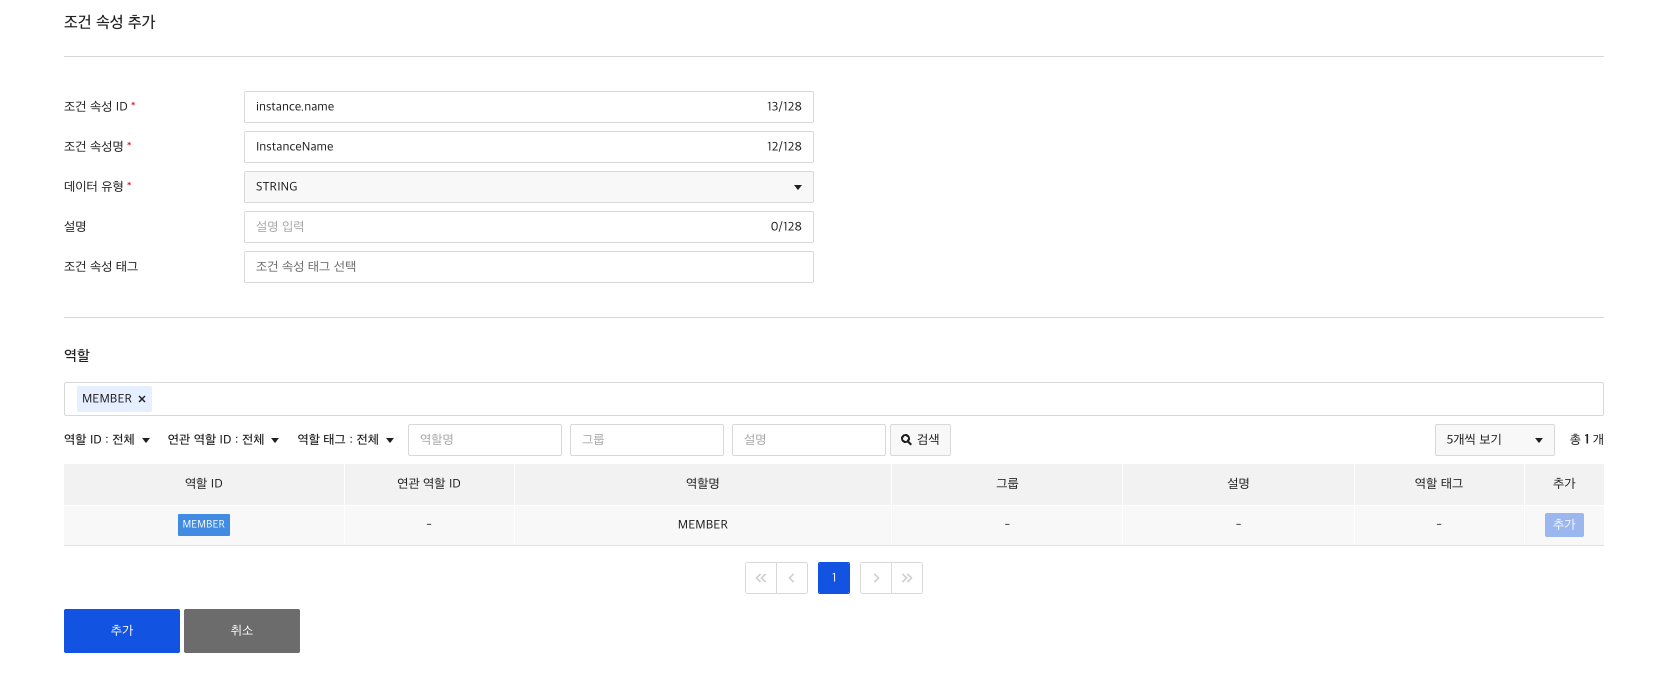
5) Create condition attribute
Role-Condition attribute relationships have to be set in order to grant the created roles permission to perform operations only under certain conditions.
Condition attributes are only available for roles that you pre-add to condition attributes. When creating/modifying a condition attribute, you add the role you created earlier to the condition attribute.

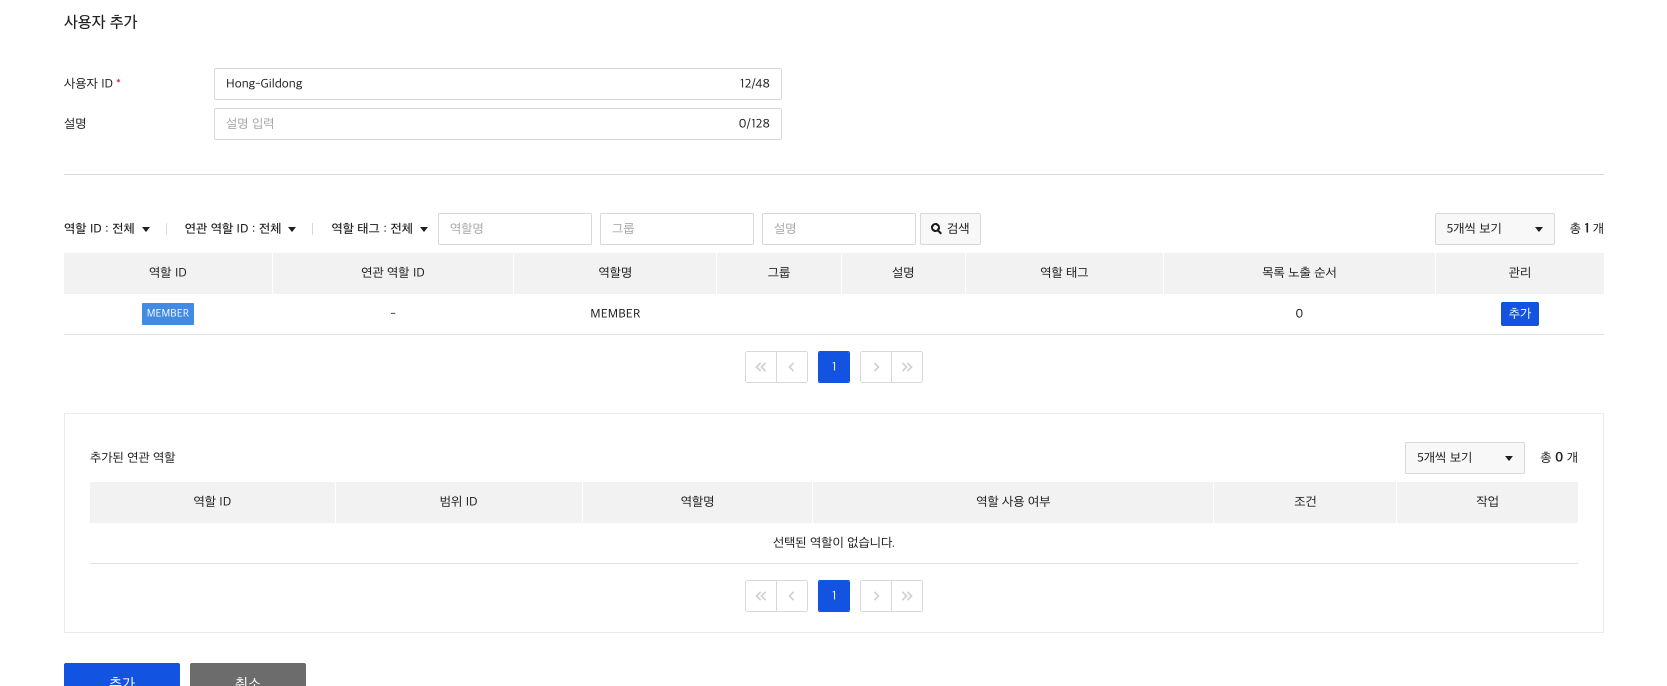
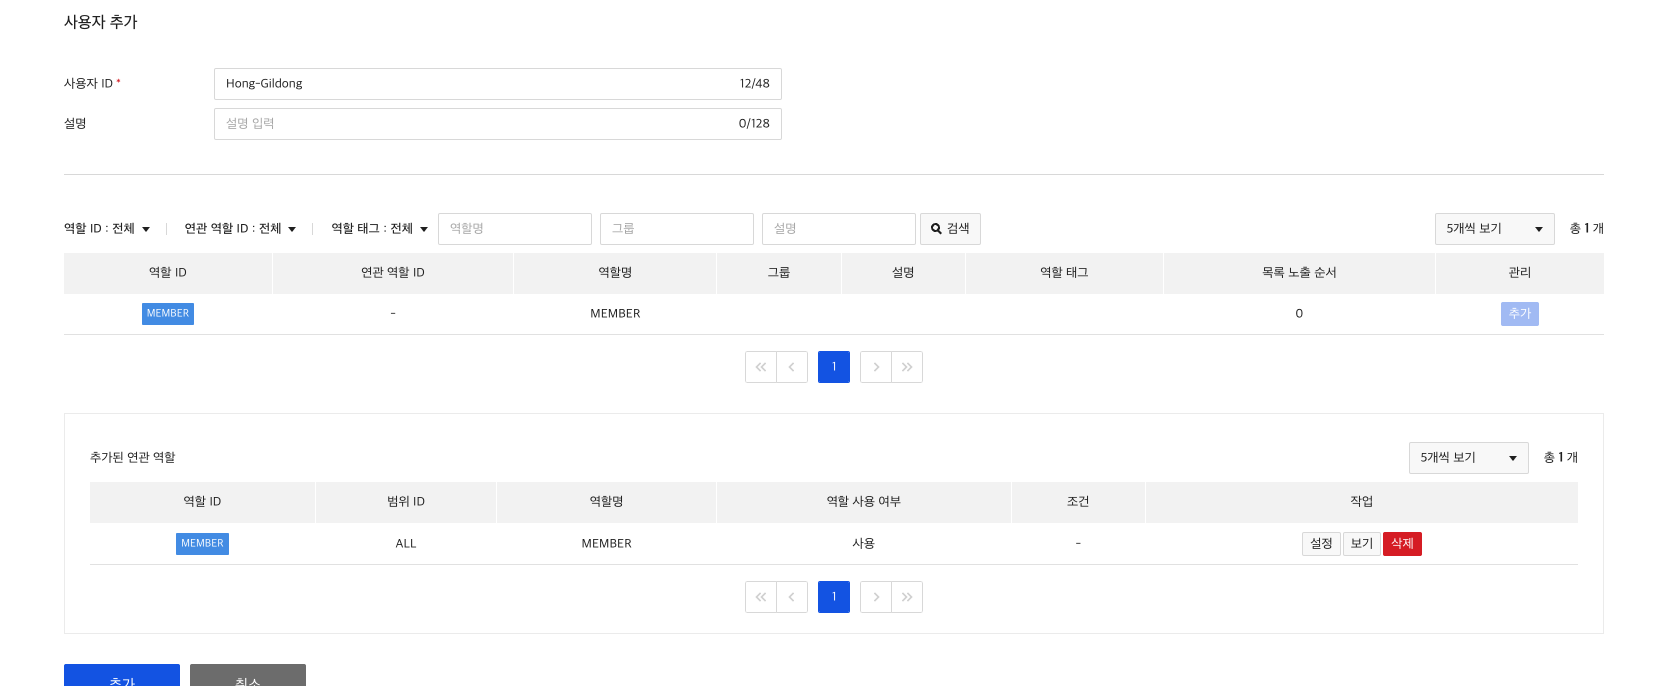
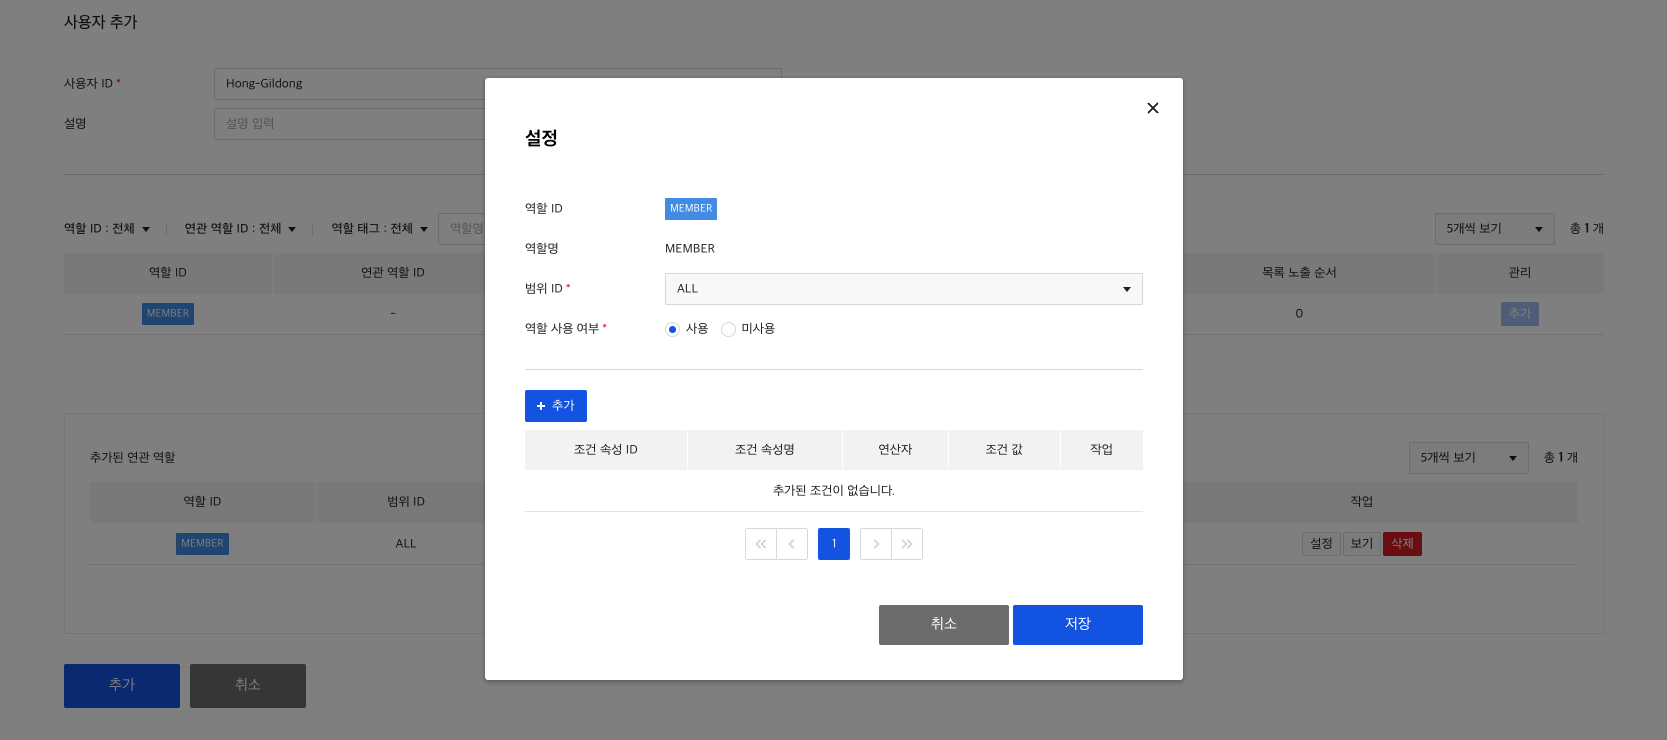
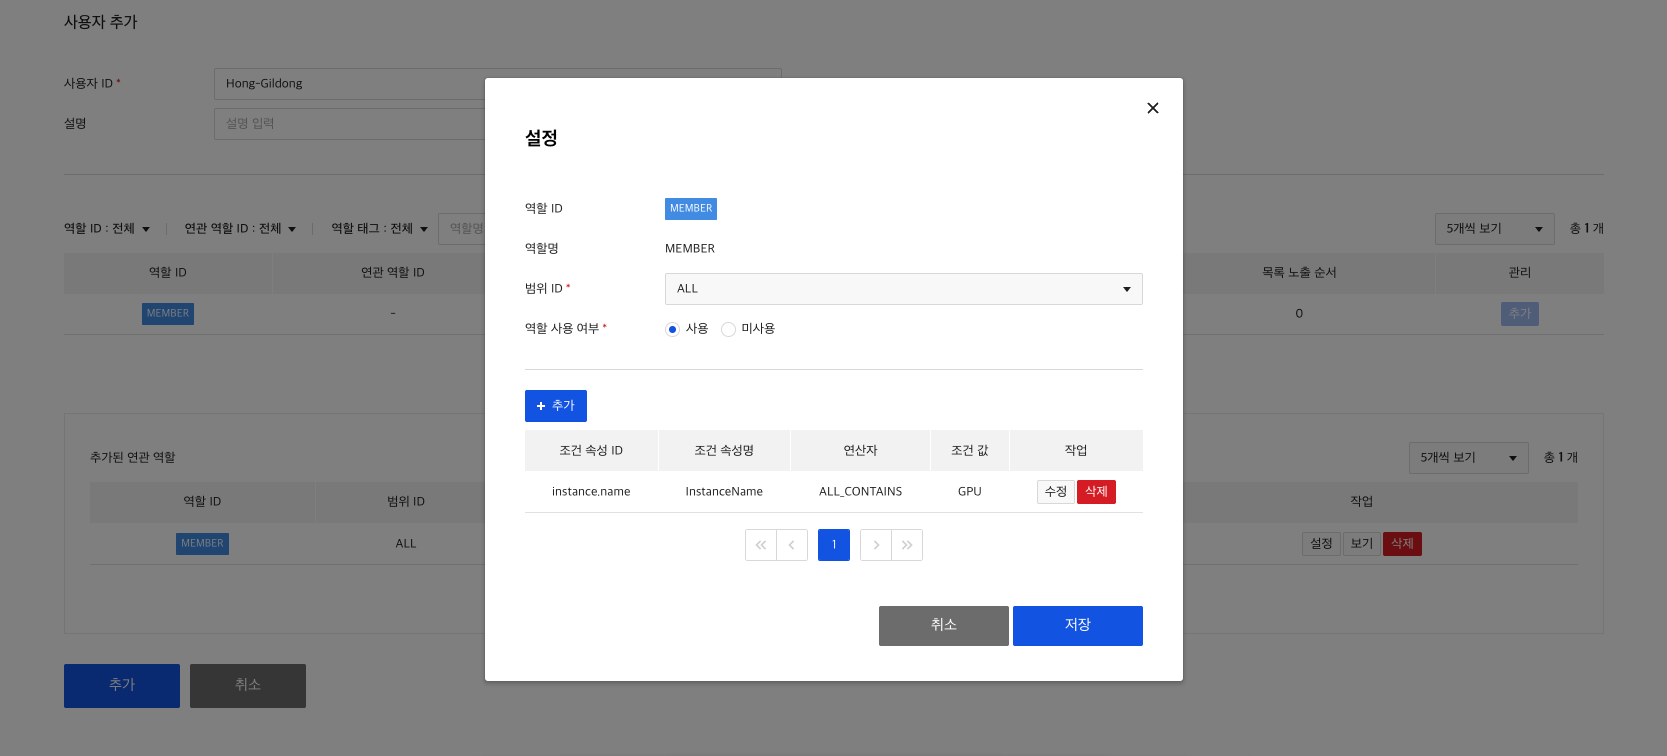
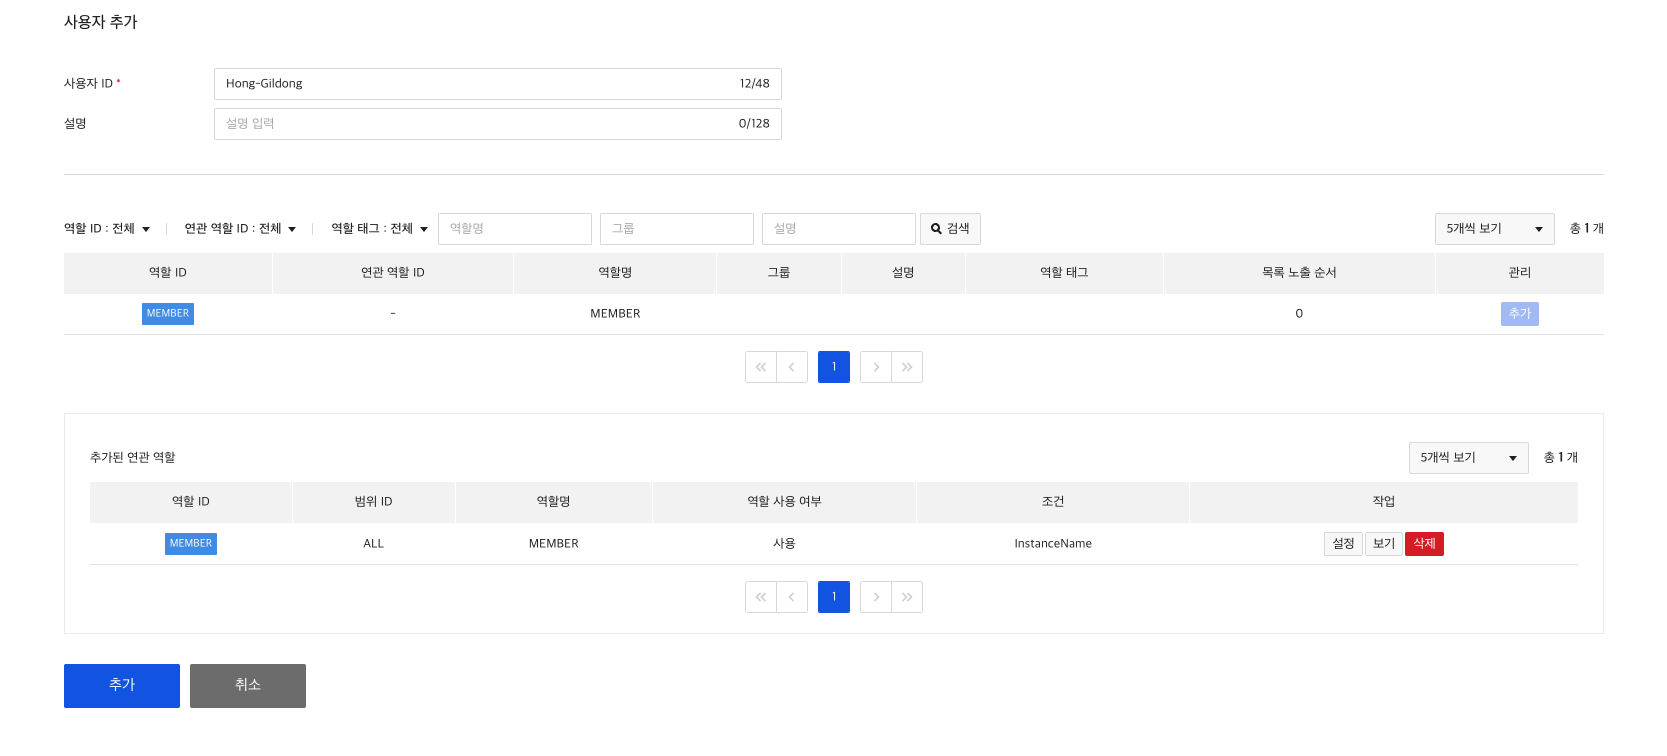
6) Create user
Lastly, add a user to use the Bulletin API and set MEMBER role and instance.name condition attribute to set access control.


7) Authority Check
Let’s assume that userId is transferred to 'uuid' in Header.
When the user 12345678-1234-5678-1234-567812345678 calls API /board/v1.0/1, permission is checked as below.
[When call RESTFUL API]
curl -X POST -H "Content-Type: application/json" -d '{
    "resources": [
        {
            "attributes": {
                "attributeId": "instance.name",
                "attributeValue": "GPU"
            },
            "authRequestId": "",
            "operationId": "GET",
            "resourceId": "",
            "resourcePath": "/board/v1.0/1",
            "scopeId": "ALL"
        }
    ]
}' "https://role.api.nhncloudservice.com/role/v3.0/appkeys/{Appkey}/users/12345678-1234-5678-1234-567812345678/authorizations/resources"
Response Example) If you have access rights, the response permission: true is sent inside the corresponding resource.
{
  "authorizations" : [
    {
      "attributes" : [
        {
          "attributeId" : "instance.name",
          "attributeValue" : "GPU"
        }
      ],
      "operationId" : "GET",
      "permission" : true,
      "resourceId" : "{boardId}",
      "resourcePath" : "/board/v1.0/1",
      "scopeId" : "ALL"
    }
  ],
  "header" : {
    "isSuccessful" : true,
    "resultCode" : 0,
    "resultMessage" : ""
  }
}
Migration
If you have other projects that use ROLE service, you can conveniently synchronize your data using the data transfer feature.
Data synchronization targets are resource, role, operation and range and user are not synchronized.
In Migration menu area of Administration tab, you can proceed by entering the project or AppKey to which you want to transfer the data.
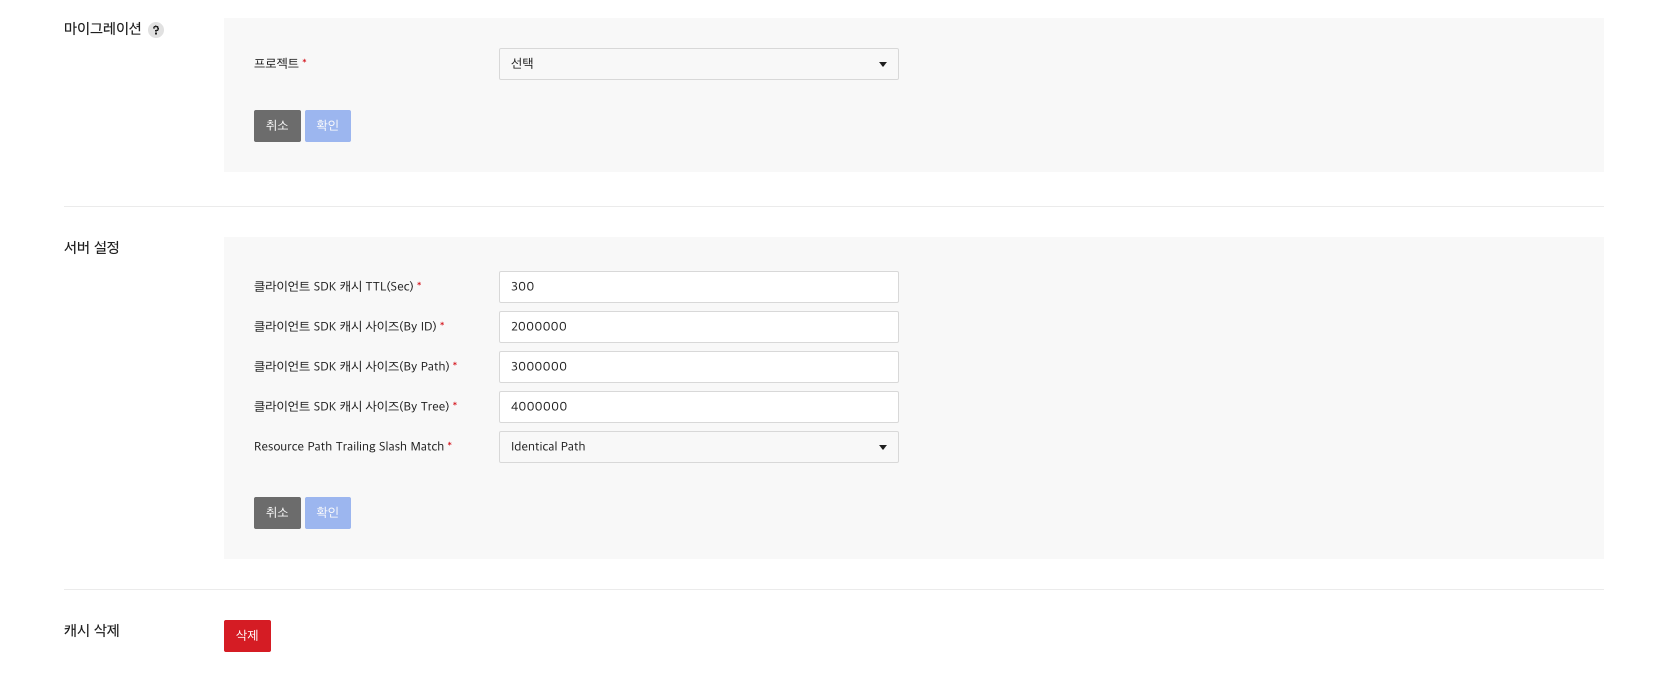

You can select a project to transfer data to, or enter AppKey directly.


Server Settings
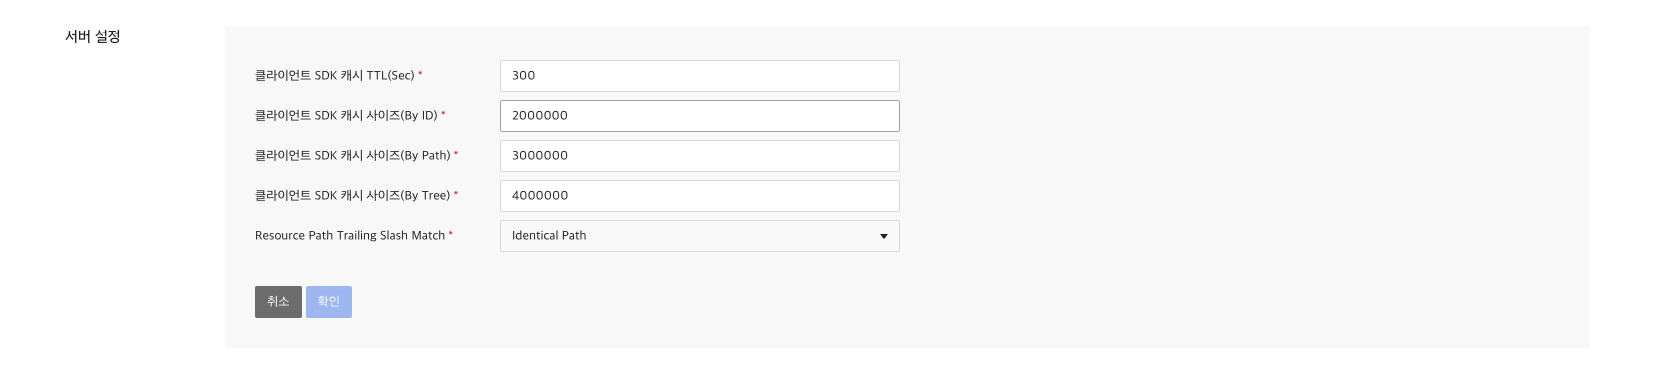
Client SDK Cache Settings
You can set up client SDK cache.
Attributes that can be set include TTL, ID-specific sizes, Path-specific sizes, and Tree-specific sizes.
Resource Path Trailing Slash Match
You can set it for the last '/' of resource path.
If set to NonIdentical Path, '/board/v1.0/{boardId}' and '/board/v1.0/{boardId}/' are different paths.
However, if you set it to IdenticalPath, '/board/v1.0/{boardId}' and '/board/v1.0/{boardId}/' are the same path.
Clear Cache
Because of the cache of client SDK and server, the results of the permission check on the changed resources might not be immediately reflected. In such case, you can resolve the issue by explicitly deleting the cache using Delete Cash button on Administration tab.


Table of Contents
- Application Service > ROLE > Console User Guide
- Bulletin Board Example
- 1) Create Role
- 2) Create Operation
- 3) Create Resource
- 4) Create a Role-Resource Relationship
- 5) Create condition attribute
- 6) Create user
- 7) Authority Check
- Migration
- Server Settings
- Client SDK Cache Settings
- Resource Path Trailing Slash Match
- Clear Cache