Game > GameAnvil > Console User guide > Getting Started
Before Starting
Game server operations begin by deploying developed server binary to physical devices of the desired size and running them to the desired logical configuration. They also require monitoring, binary management, patch support and etc. GameAnvil console meets all of these requirements. This document describes how to deploy and operate game servers implemented using GameAnvil on the console.
Glossary
The following terms are frequently used in this document. Although most terms do not differ from the general meaning, some terms, such as "game server" are used in GameAnvil's special definition, so it is recommended that you familiarize yourself with the terms before using the document.
| Term | Description |
|---|---|
| Server binary | A .jar file that can be run as a server process on a server instance. The corresponding binary contains the code for all nodes that you implement. |
| Server process | The process of running the game server, i.e. running the server binary. |
| Server instance | NHN Cloud Instance (VM) for running game servers |
| Game server | It is an abstract term that encompasses the server instance on which the server binary is deployed or the entire server instance that is already process-run. In other words, a combination of physical equipment + binary for game services. GameAnvil manages server instances and server processes as a single concept. It is abbreviated to be called as "server" in documents and console menus. |
| Server | It has the same meaning as game server |
| Node | Functional units that make up a single server process. One server process can consist of one or more nodes (see Server Development Guide for details) |
| Console | When you enable the GameAnvil service on NHN Cloud, the accessible GameAnvil Console is abbreviated to be called as console. |
| Deployment | The process of uploading a server binary to a server instance |
| Deployment file | Server binary uploaded/to-upload to the server instance |
| Configuration | It means configuring the server in the desired form. Server settings have the same meaning. |
Enable GameAnvil
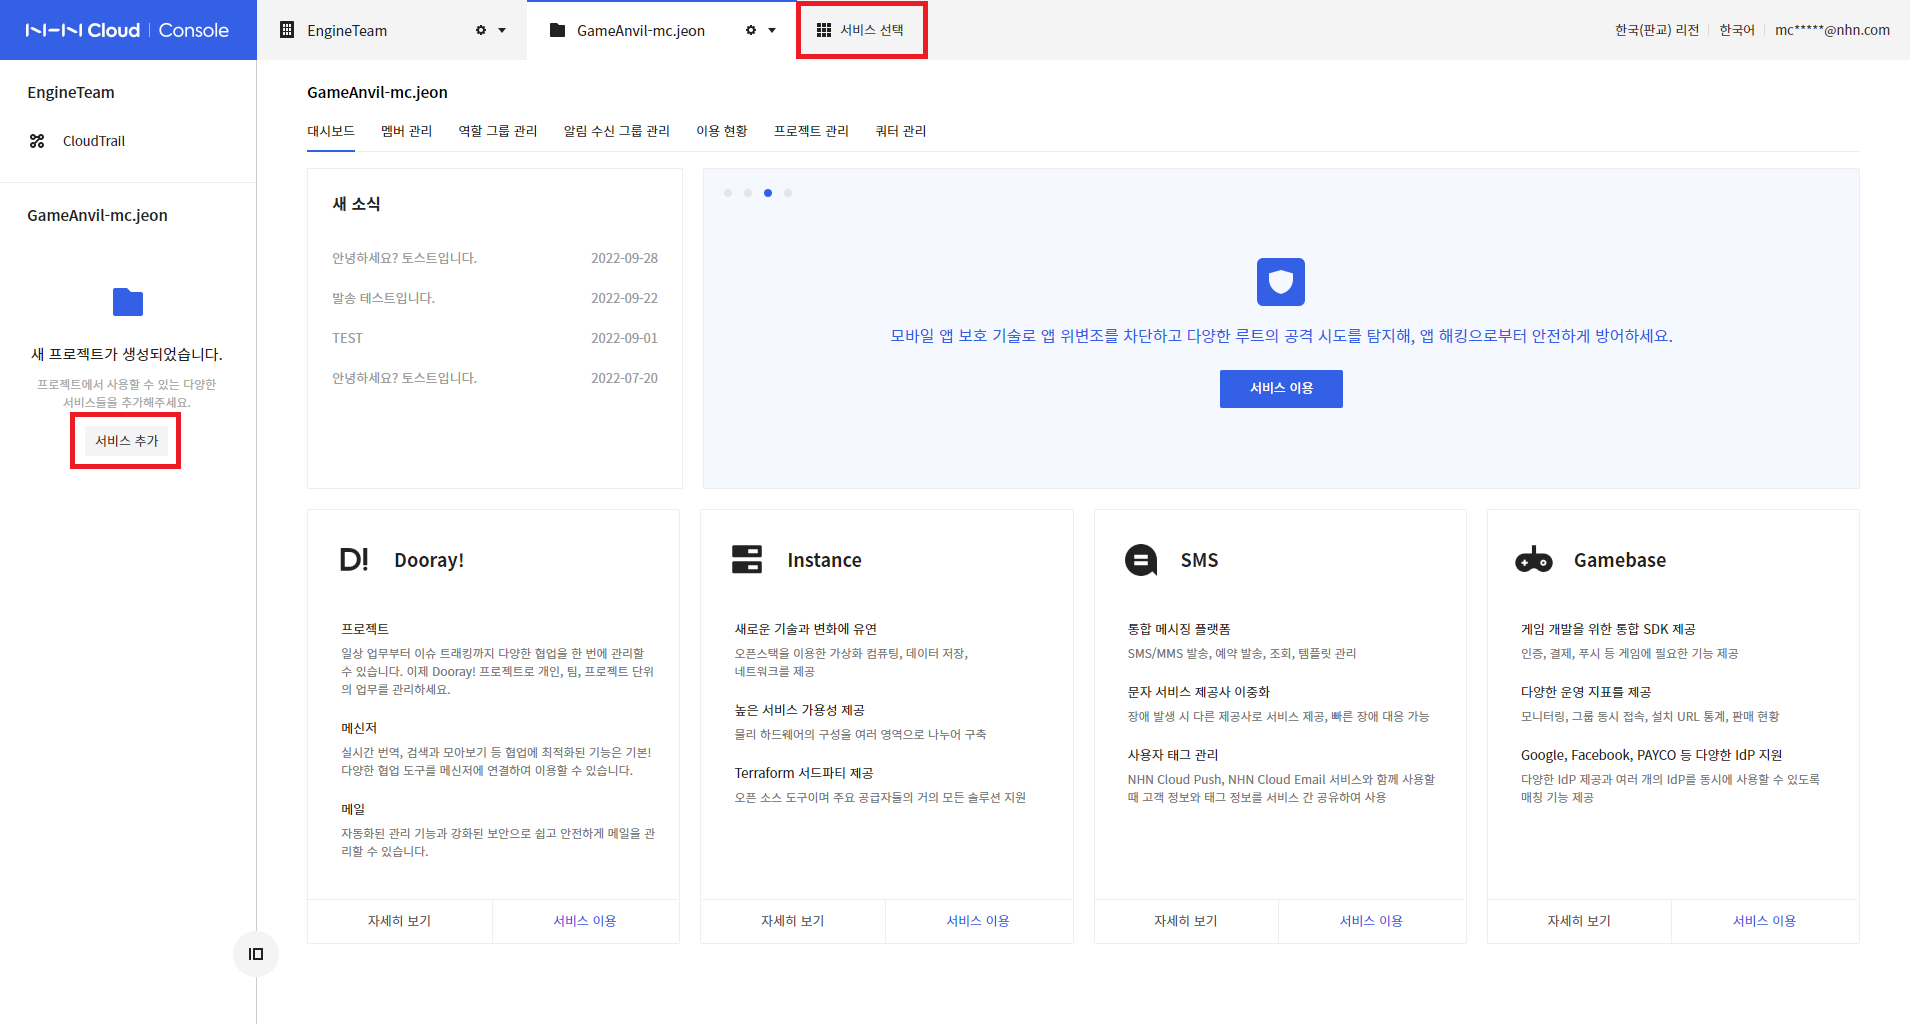
GameAnvil requires GameAnvil service to be enabled on NHN Cloud Console. Click Select Service or Add Service.
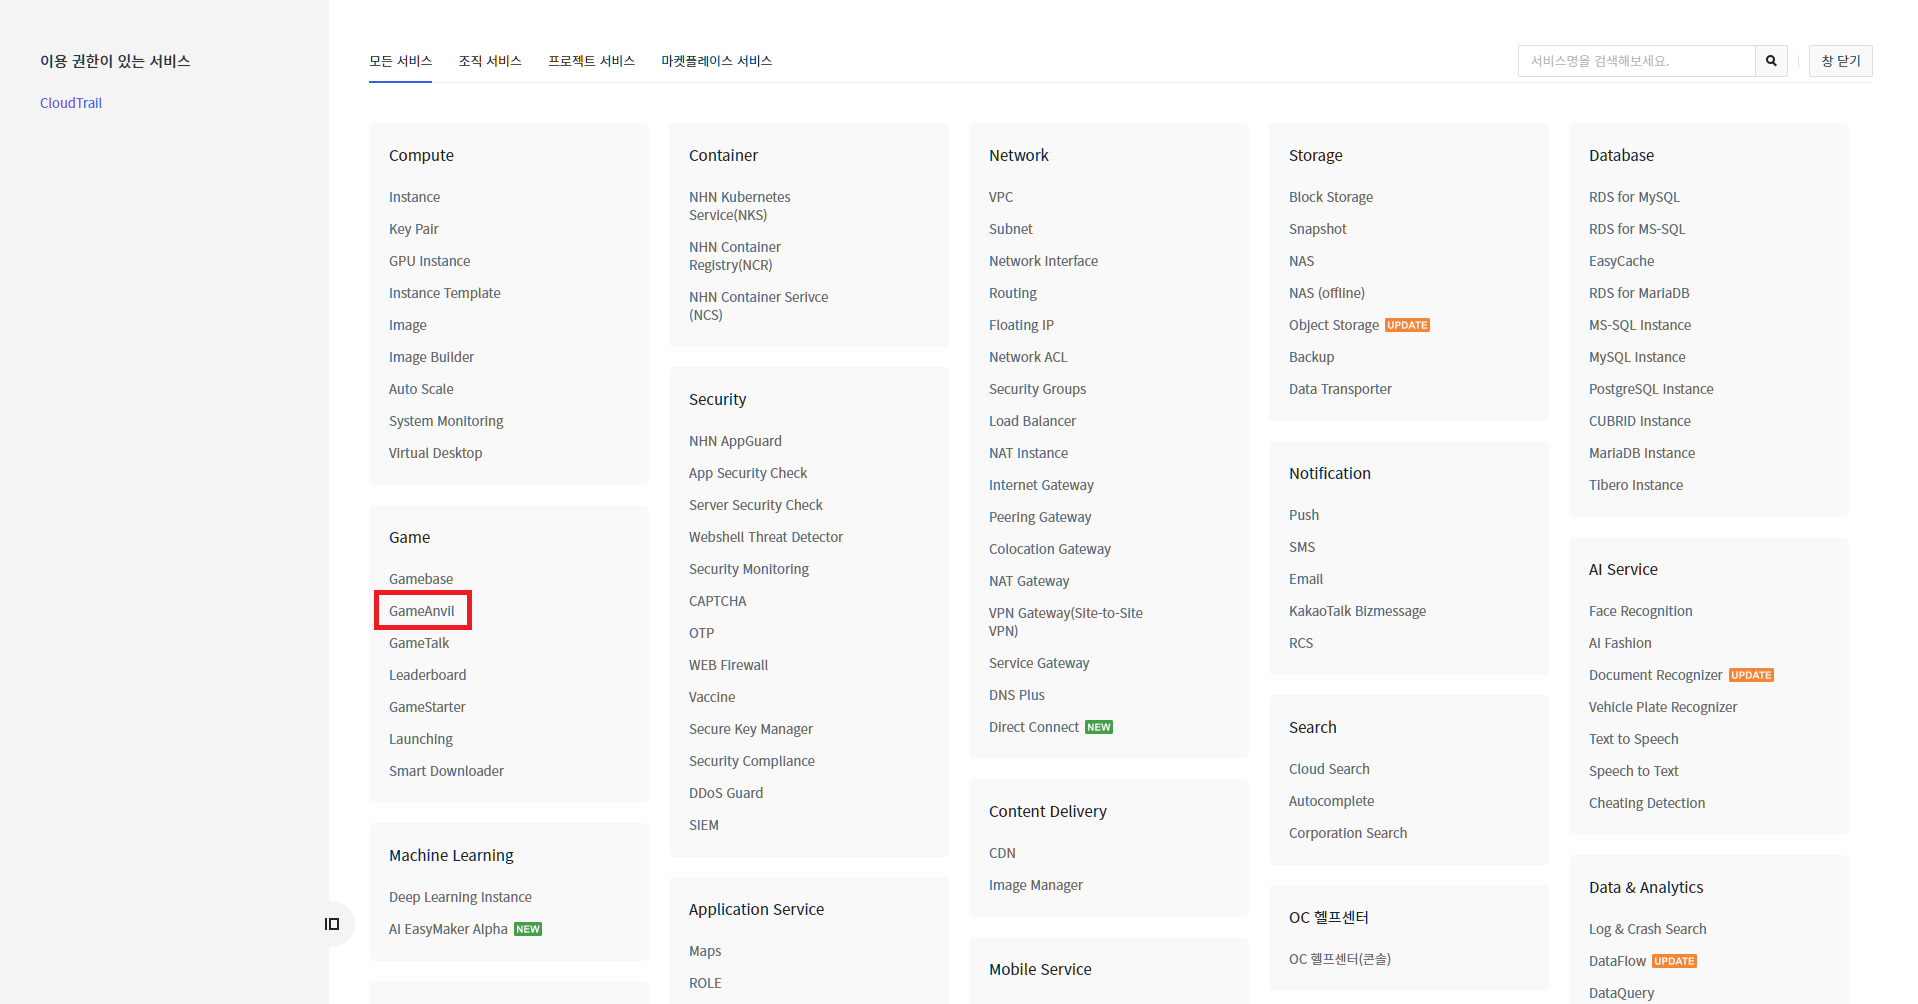
Select GameAnvil from Game category.
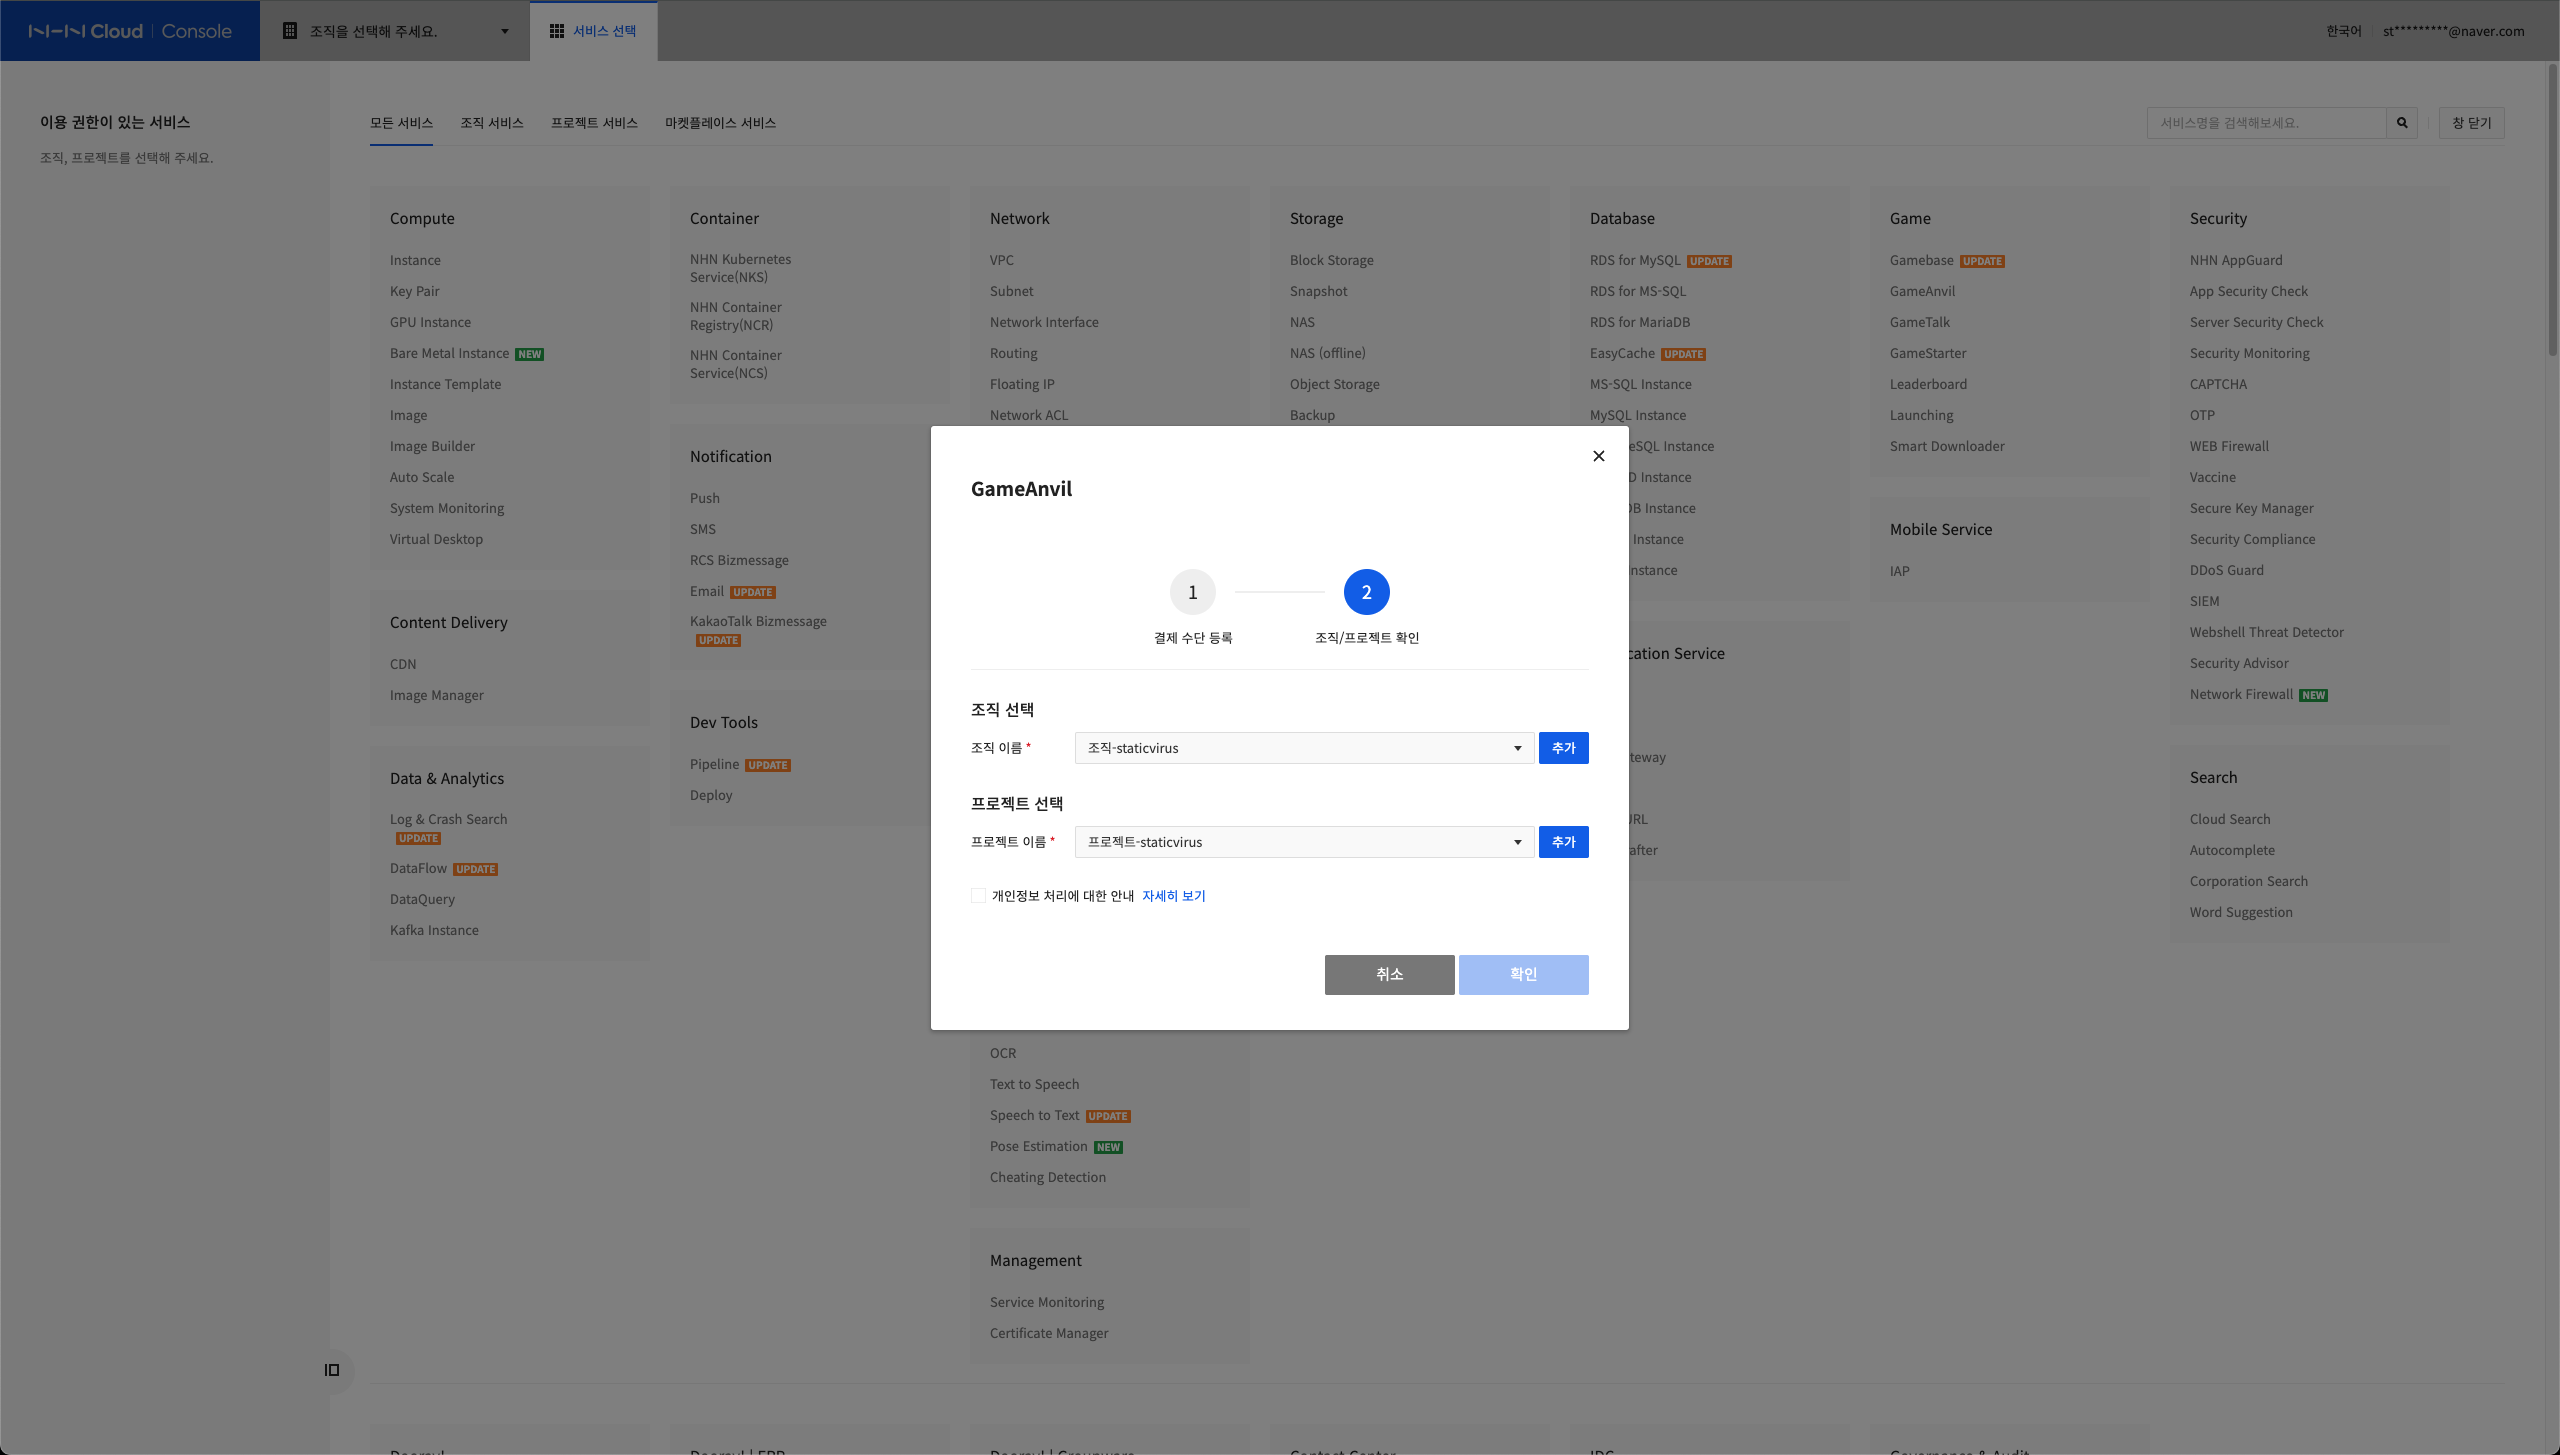
If you proceed with the service activation for the first time, the following payment method registration pop-up screen will appear.
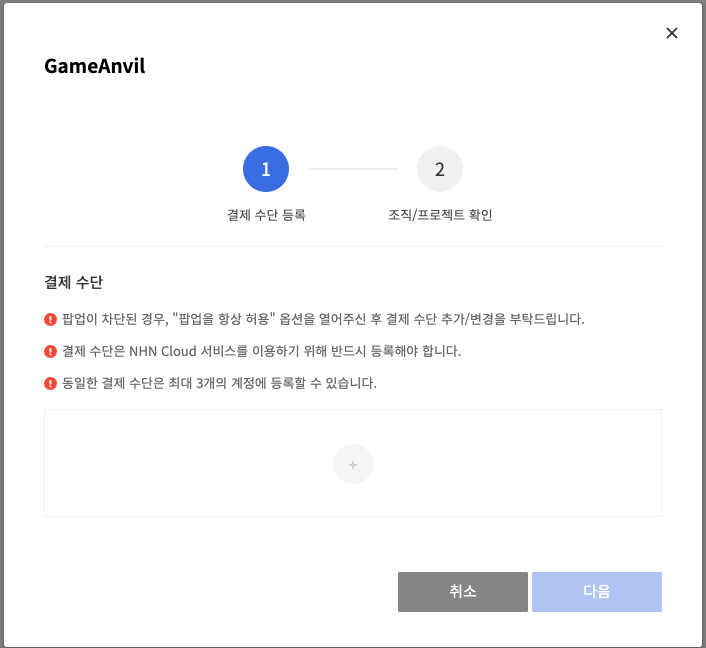
When you register your payment method by following the instructions on the screen, you will see the Create or Select Organization screen as follows. After setting up the organization, click confirmation to complete the service activation.
Once the service is activated and the organization is created, users have unique console access rights. Users can access the console and set up and manage all the features you need during operational phase.
Select GameAnvil product
When the service is activated, GameAnvil product selection screen will be displayed. You have to select the product before using GameAnvil console.

GameAnvil offers two kinds of products that differ in the size of the game server's system nodes and the range of technical support. System nodes are resources used to manage instances, nodes, and user information internally in GameAnvil and are not exposed to users. Standard products are suitable for small · medium-sized games, offering dual system nodes and a wealth of technical support. Premium product offers system nodes optimized for large-scale gaming and a wider range of technical support. Choose a product that fits the characteristics and scale of the game you want to service.
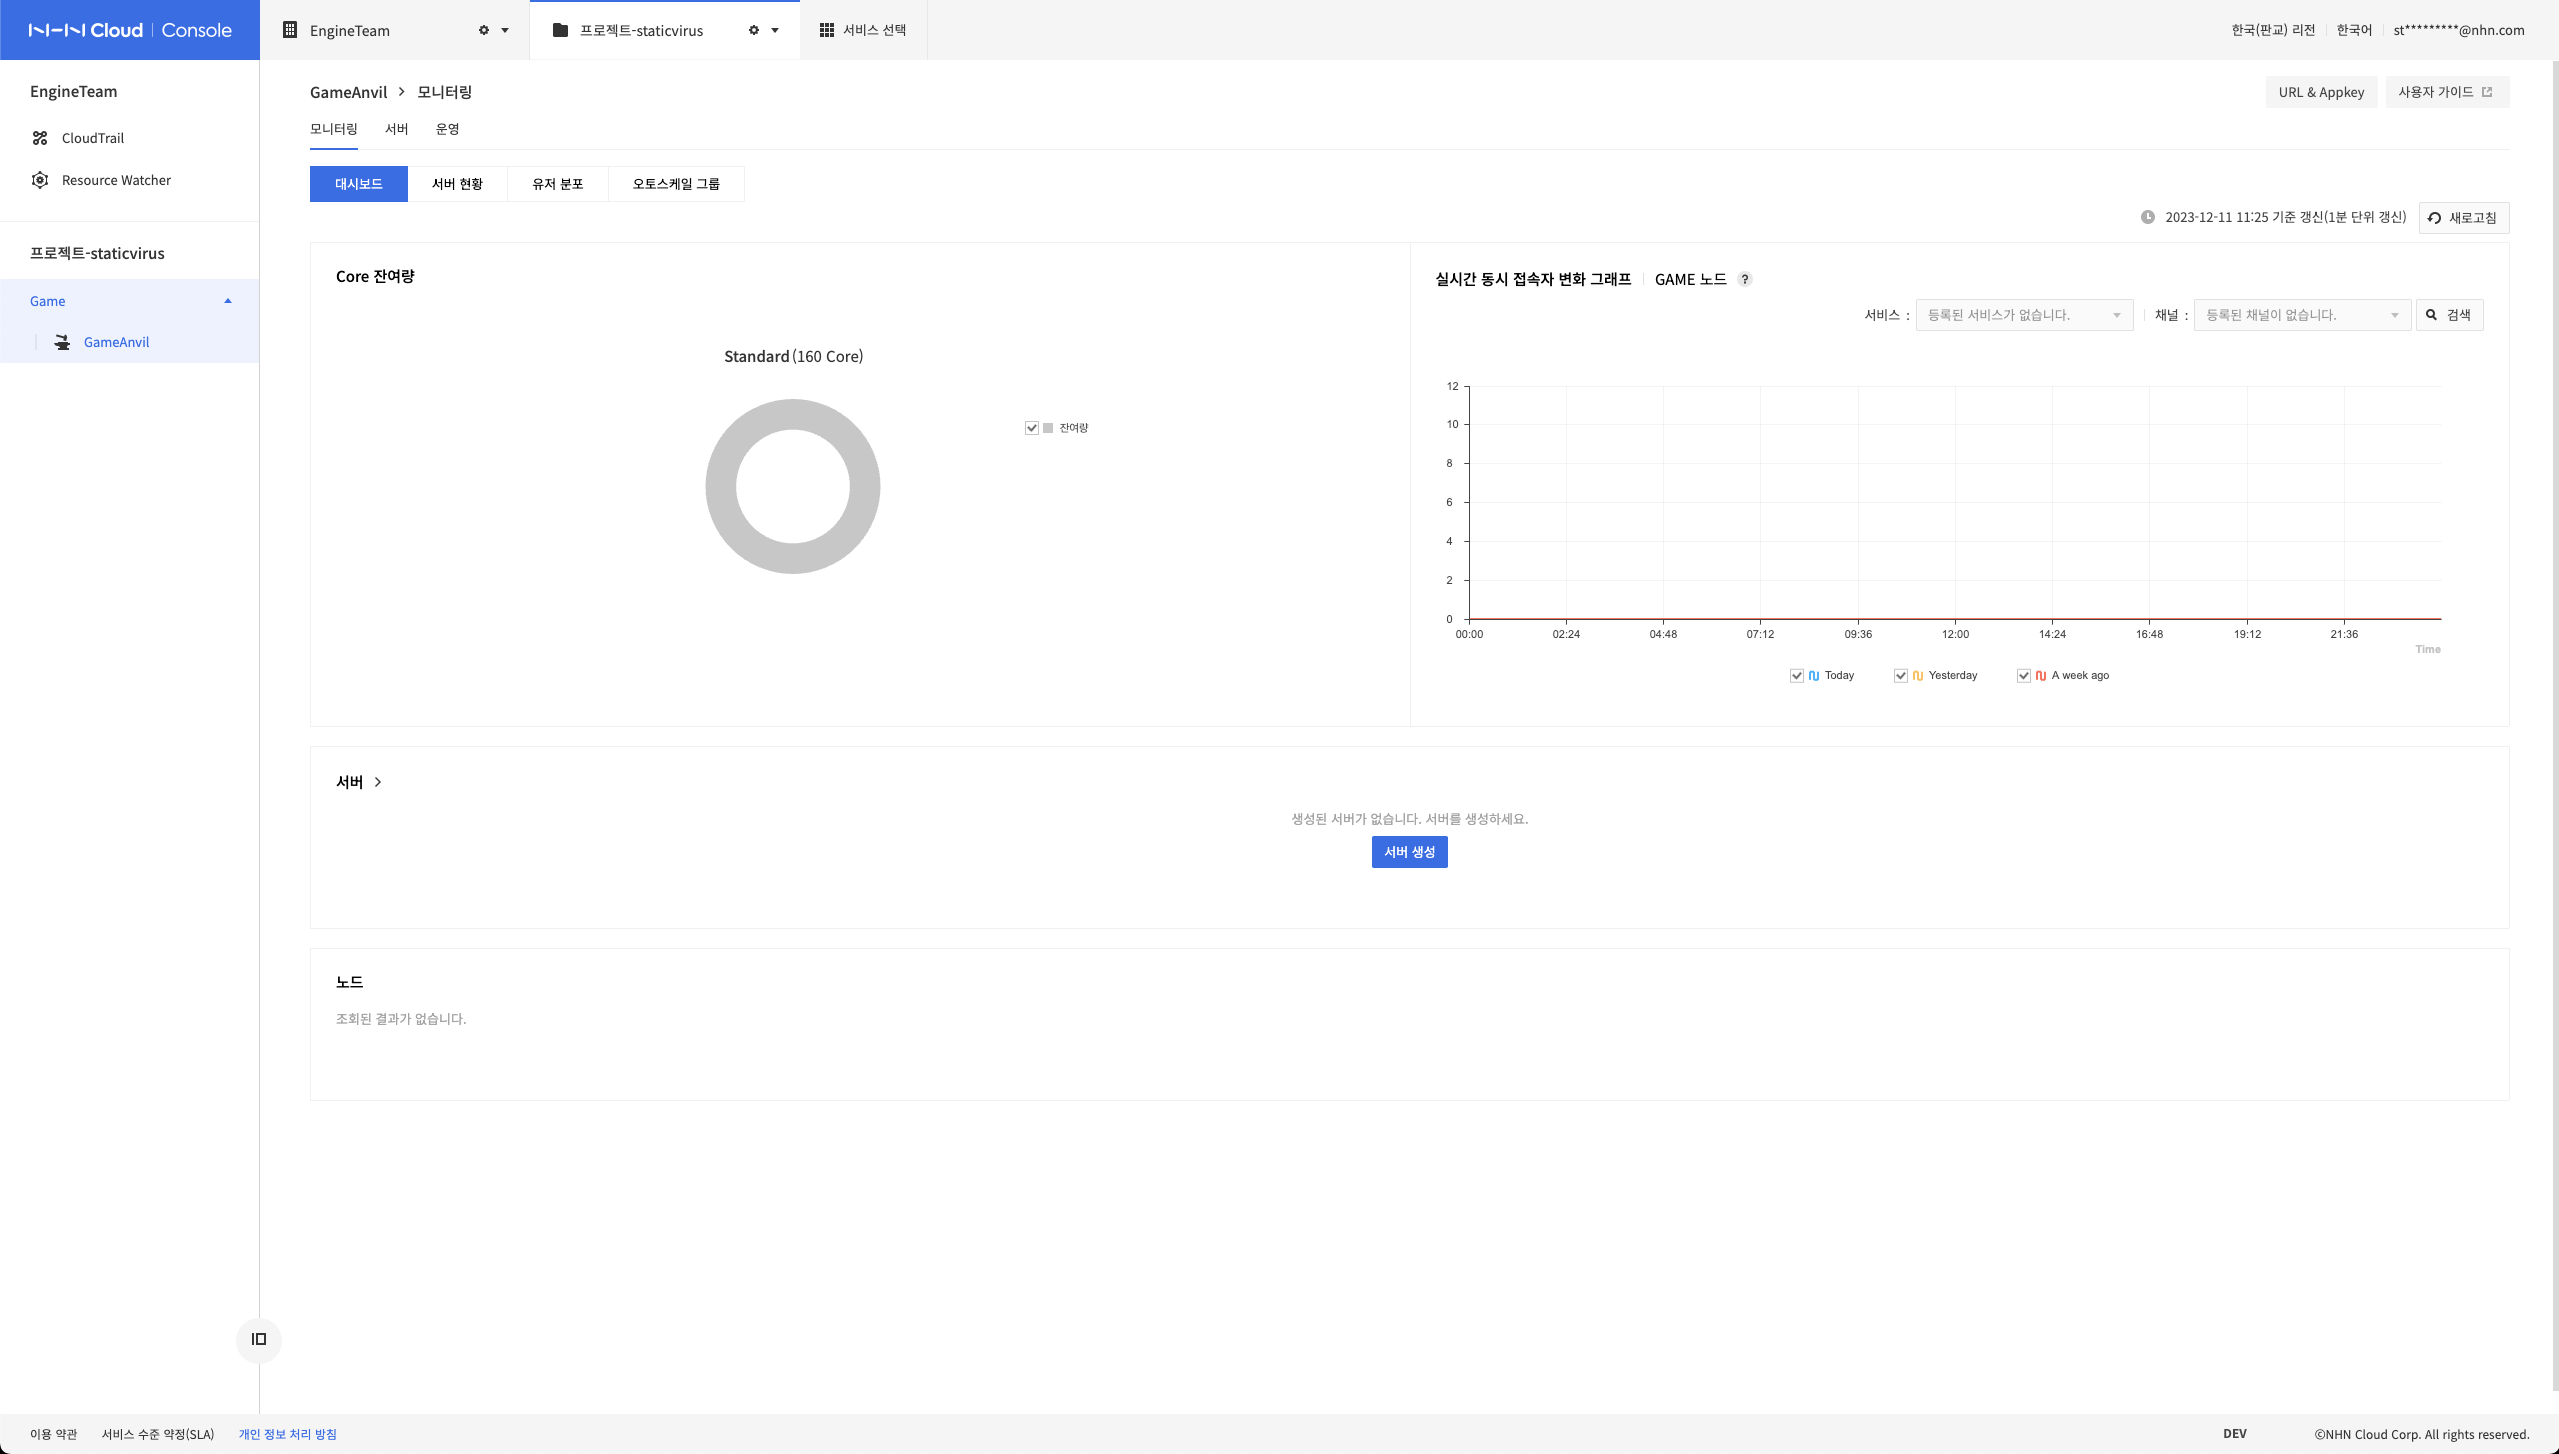
Check GameAnvil service dashboard
Once you have completed the above process, you are ready to use GameAnvil service. You can view GameAnvil dashboard on the console.